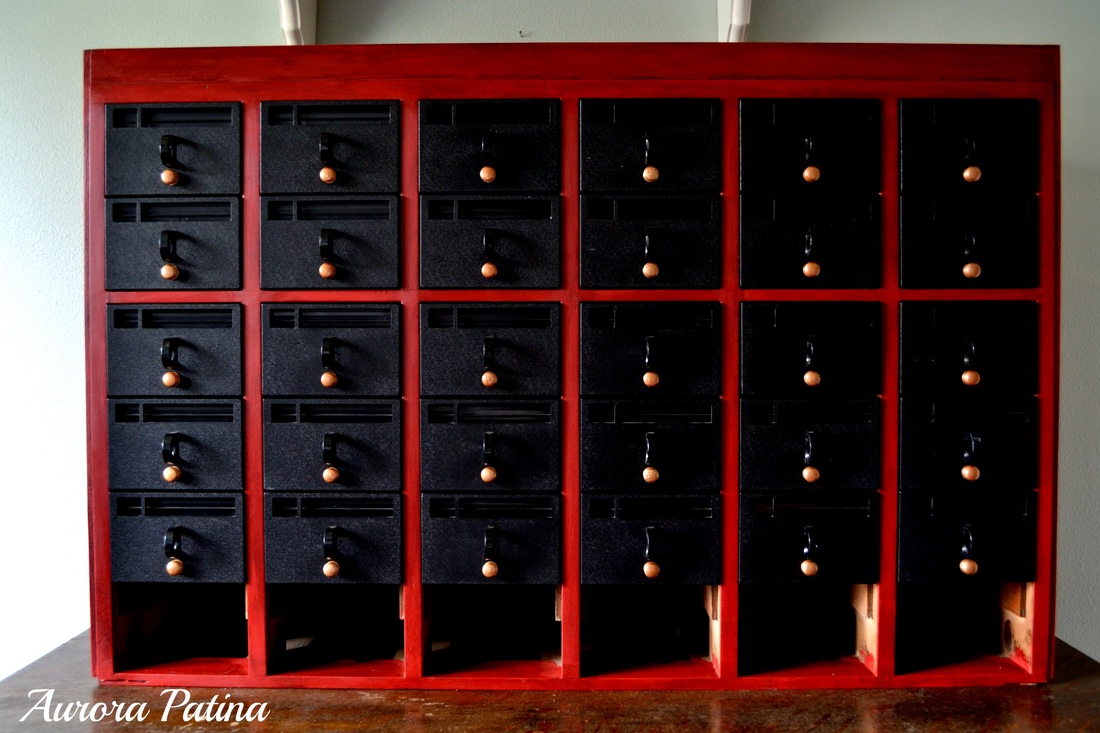
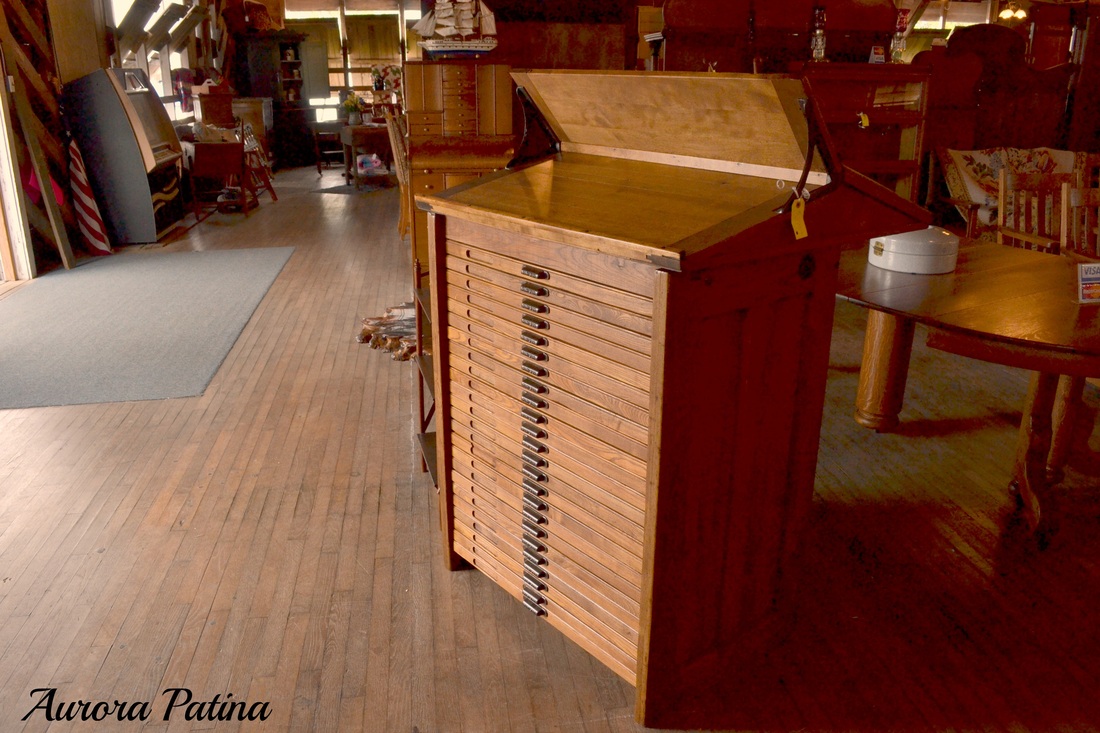
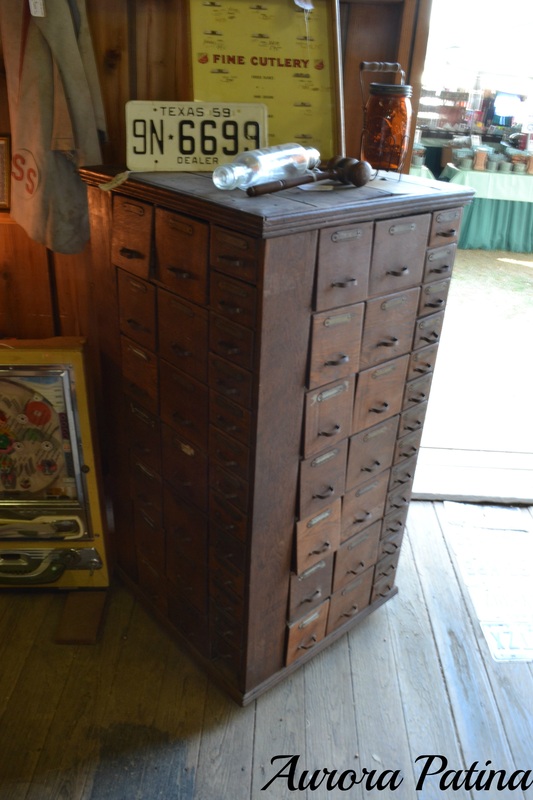
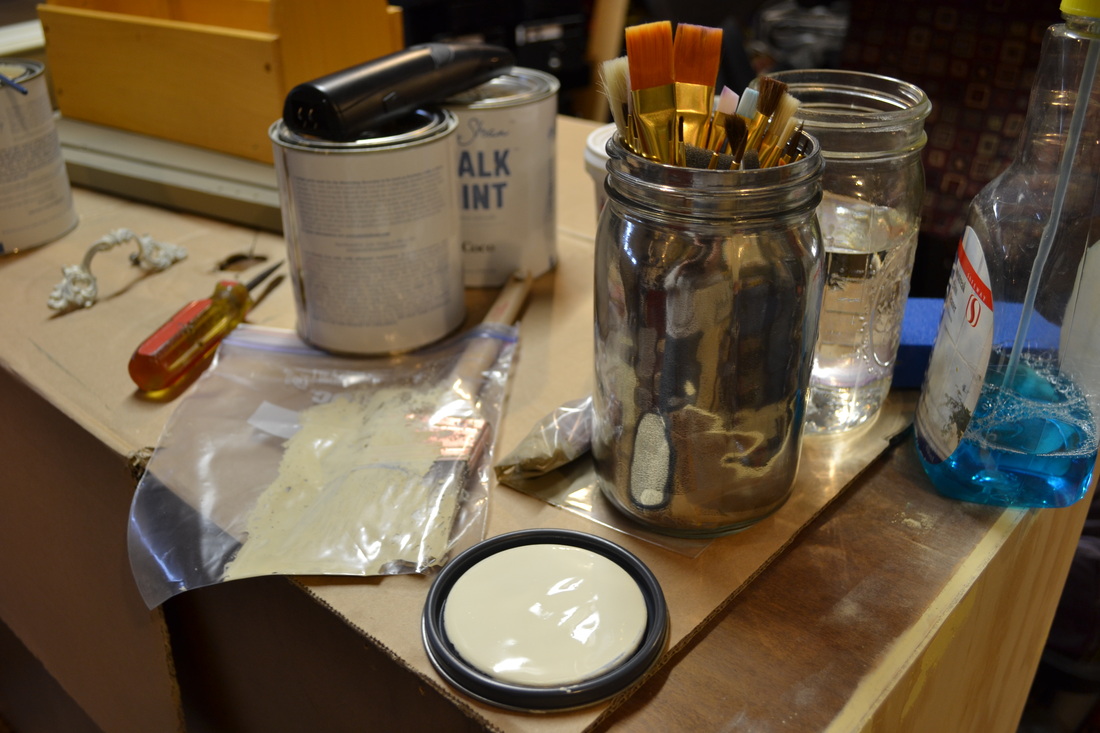
Is it possible to love a piece of furniture? Some may say it's crazy, but I say absolutely! My initial instincts when Hubs found this card catalog was to paint it red. Then that naggy lady who resides my my brain said, "No, that's too crazy!" However, my heart said to throw caution to the wind and go for it. The heart wants what the heart wants, right? Thankfully, that's the route I went because I LOVE how it turned out. The ASCP in Emperor Red was the ticket I needed to turn this tired ol' brokedown piece o' junk into a fun, hip and beautiful conversation piece. After I painted the first coat I let it dry and when I went back out to my workspace. I would have sworn I had a brand new Craftsman toolbox sitting there! I love Craftsman tools, but that was not the look I was going for. A second coat of paint and the dark wax gave me a beautiful finish. Something I learned on this project was not to leave used wax rags on your newly waxed finish. It will take the finish right off. I didn't know that and now I do. I suppose this is also good info if you want to remove a boo boo you made with the dark wax. A lot of elbow grease went in to this project. If you are interested, click on Read More below and you can see some more photos and a little more description about how I took this from a bit of a beast to a beauty. |
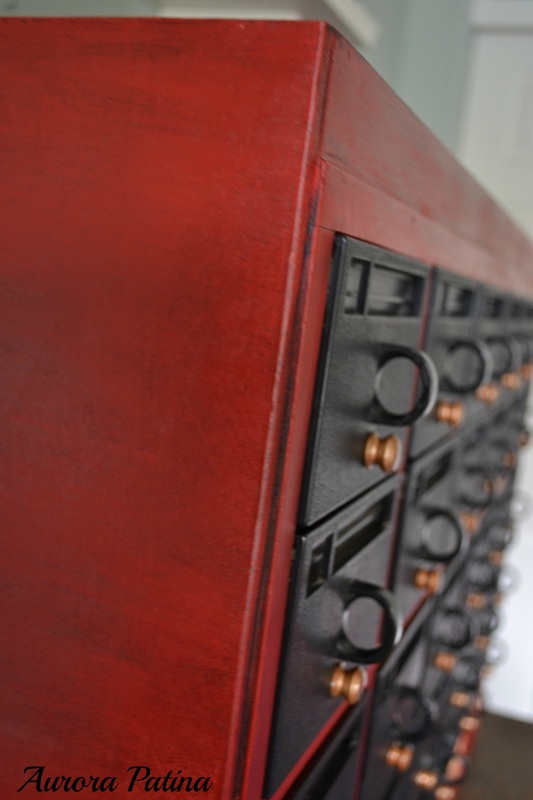
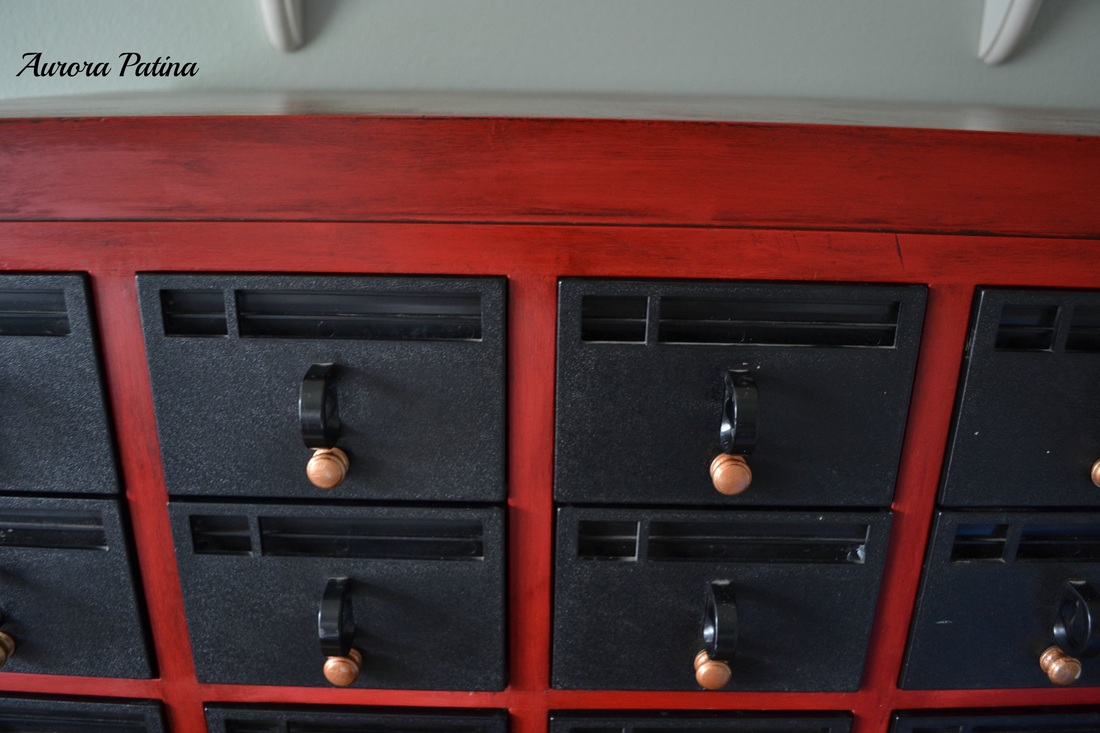
13 Comments
Hi Guys! I apologize for the delay in posting. I've been recuperating, but I am feeling pretty great today and thought I'd post a little more about our quick trip to Texas. Variety is the Name of the Game So friends, I could talk until I'm blue in the face about the crazy variety of things you can find at the Texas Antiques Fair, but I think it would just be easier to show you! If you get a chance, this is a show I'd definitely recommend, even after only getting one day there! If you click on one of the photos below, a larger image will pull up.
I've had this piece completed for a few days now, but I just couldn't seem to get the right pictures posted here, so I finally just put them up and went with it! I am really happy with how this project turned out. To me, the paint turned out very "old world", which is what I was going for. Once again, my hubs found this cute little table - he's becoming quite the partner in this little venture! He took a picture of it on his lunch break and came home after work to show me. I couldn't believe he didn't just buy it! So, we got up at the crack of dawn and drove up to the shop it was in. We were early, so we listened to Macklemore's Thrift Shop a couple of times (nothing like that song to get you in gear for a thrift shop throw-down). Once the doors were unlocked we went straight to the table before anyone else could get it. I was so glad to see it still there. On the way home we stopped in to see Phyllis at The Purple Pear and picked up some ASCP and then headed home. You can see from the "before" picture that this little beauty had probably been sitting in that window for a while. There was some serious dust and dirt, a good amount of decades old scotch tape, and a few scuffs and scratches. So, I cleaned her up and went to work. I did 2 coats of Old Ochre, then went back and highlighted some of the areas in Old White, to add some contrast. I let that dry really well and then did a clear wax coat, then a dark wax coat, then finally, a 3rd clear coat. She is now residing in my dining room. I may end up selling this piece, but I'm not sure yet. If you're interested, let me know! Aurora Patina is Linked Up @ These Parties:
Skip To My Lou: http://www.skiptomylou.org/ Craft-O-Maniac: http://www.craft-o-maniac.com/ My Uncommon Slice of Suburbia: http://myuncommonsliceofsuburbia.com/ C.R.A.F.T.: http://www.creatingreallyawesomefreethings.com/ Mod Vintage Life: http://modvintagelife.blogspot.com/ The Blackberry Vine: http://blackberryvine.blogspot.com/ Today's Creative Blog: http://todayscreativeblog.net/ Hope Studios: http://www.hopestudios.blogspot.com/ Do Small Things With Love: http://www.dosmallthingswithlove.com/ Boogie Board Cottage: http://boogieboardcottage.blogspot.com/ The Cottage Market: http://www.thecottagemarket.com/ Jennifer Rizzo: http://www.jenniferrizzo.com/ Fluster Buster: http://www.flusterbuster.com/ Domestically Speaking: http://www.domestically-speaking.com/ Kammy's Korner: http://www.kammyskorner.com/ Good Evening Guys! I'm sorry I was silent over the weekend. I was SO busy with new projects, I didn't have time to post anything. I'm working on a few pieces that I'm really excited to share with you, but they are still in the process of being made pretty again, so I'll get them posted as I complete them. In the meantime, here's one I did last weekend. It was a super easy job and I'm really happy with how it turned out.
I picked this frame up super cheap at the local Goodwill. I'm there at least once a week and I ALWAYS look at the frames, lighting and furniture. Sometimes I'll hit the dishware section if I'm looking for something specific, but I pretty much have my route down and am in and out of there in no time at all. I believe this frame was 3.99. It had a horrendously ugly forest green matte, that I took out after I painted on it. Actually, that was stupid, I could have reused that for something, but in my rush to turn the frame into what I wanted, I didn't think it through. Lesson learned! Anyway, I painted this with my go to paint, Annie Sloan Chalk Paint (no, I am not paid to advertise for ASCP, i just really love her paint, darn it!). I did one coat, slapped it on a little thick, because I didn't want to do 2 coats. I let it dry and then I took a wet rag and rubbed it over the raised areas of the frame. The paint comes off and leaves a beautiful gilded looking frame. I guess technically, gilded would be gold, this is more bronze. So bronzed? Heck, I don't know, but I sure love how it turned out! Stay tuned for more projects to come!
I am in the process of turning our den into my craft room and was in dire need of a cork board. I couldn't find one I liked, though. They were too small, too expensive or too ugly. So I decided I was just going to make one from scratch. It works great and is pretty handy. I'm not completely sold on this bicycle fabric, but for now, I'm sticking with it. if you are interested in making one of these for yourself, then click on Read More. Before You may have seen my other post about the free tables my husband found on the side of the road. This was one of them. Sorry the picture is so dark, I should have taken some with more light. Alas, this is what you're stuck with for the "before" picture on this project. I will be sure to take better pics from here on out! You can't tell from this image, but there was a good deal of damage to the top of the table. I think someone used it as a TV table. I really wanted to use it for my printer table in my craft room. The legs were a bit wobbly, but tightening a few screws took care of that! First, I washed her down - she was pretty dusty from the time she spent orphaned on the side of the road. Then, I whipped out my Annie Sloan Chalk Paint, in Old Ochre and went to town. If you haven't used Annie Sloan's chalk paint, you should get on it. It's the best stuff since sliced bread! I'll blog about that later. I wanted to go for a shabby chic feel and I was really happy with how it turned out. I did 2 coats of paint, clear wax and then sanded for the distressed look. It was an easy project and from start to finish, only took about 4 hours.
|
AuthorHi Friends! My name is Kris. I'm a mom and wife who loves to DIY around the house and fix up old things to make them beautiful again! Archives
August 2015
Categories
All
I've been Featured: |