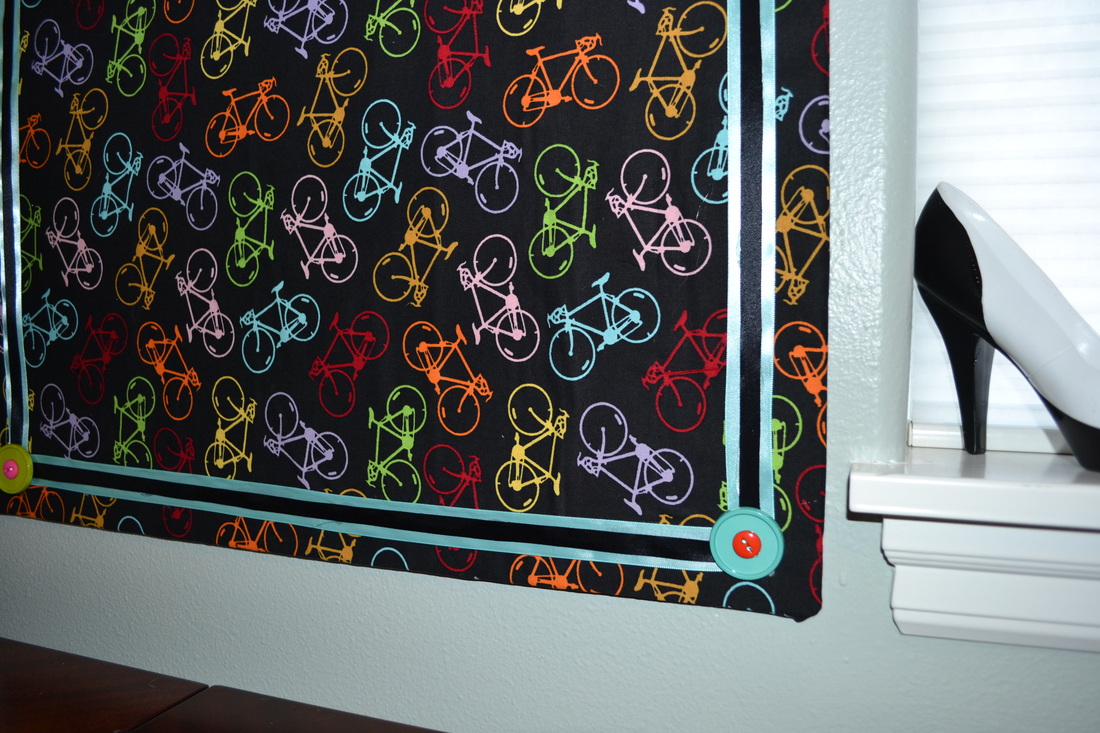
I am in the process of turning our den into my craft room and was in dire need of a cork board. I couldn't find one I liked, though. They were too small, too expensive or too ugly. So I decided I was just going to make one from scratch. It works great and is pretty handy. I'm not completely sold on this bicycle fabric, but for now, I'm sticking with it.
if you are interested in making one of these for yourself, then click on Read More.
if you are interested in making one of these for yourself, then click on Read More.
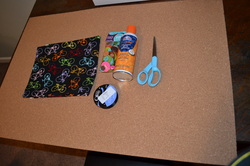
Making this was super easy and pretty affordable. Here's what you'll need to complete this project:
•Sheet of Cork - I purchased mine on Amazon - you can purchase different sizes and thicknesses of cork. I went with 1/4".
•Fabric of your choice
•Scissors
•Ribbon
•Buttons
•Spray Adhesive
•Sheet of Cork - I purchased mine on Amazon - you can purchase different sizes and thicknesses of cork. I went with 1/4".
•Fabric of your choice
•Scissors
•Ribbon
•Buttons
•Spray Adhesive
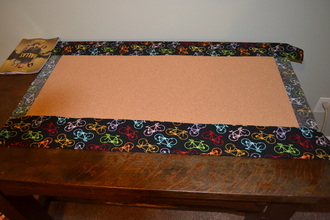 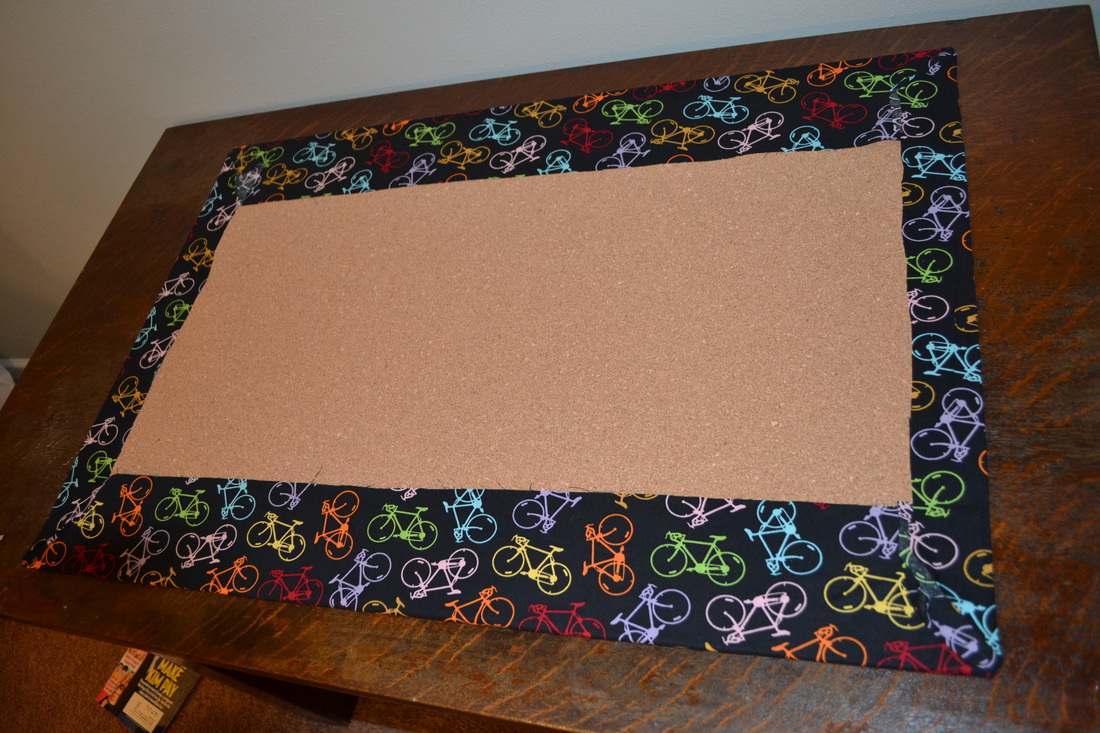 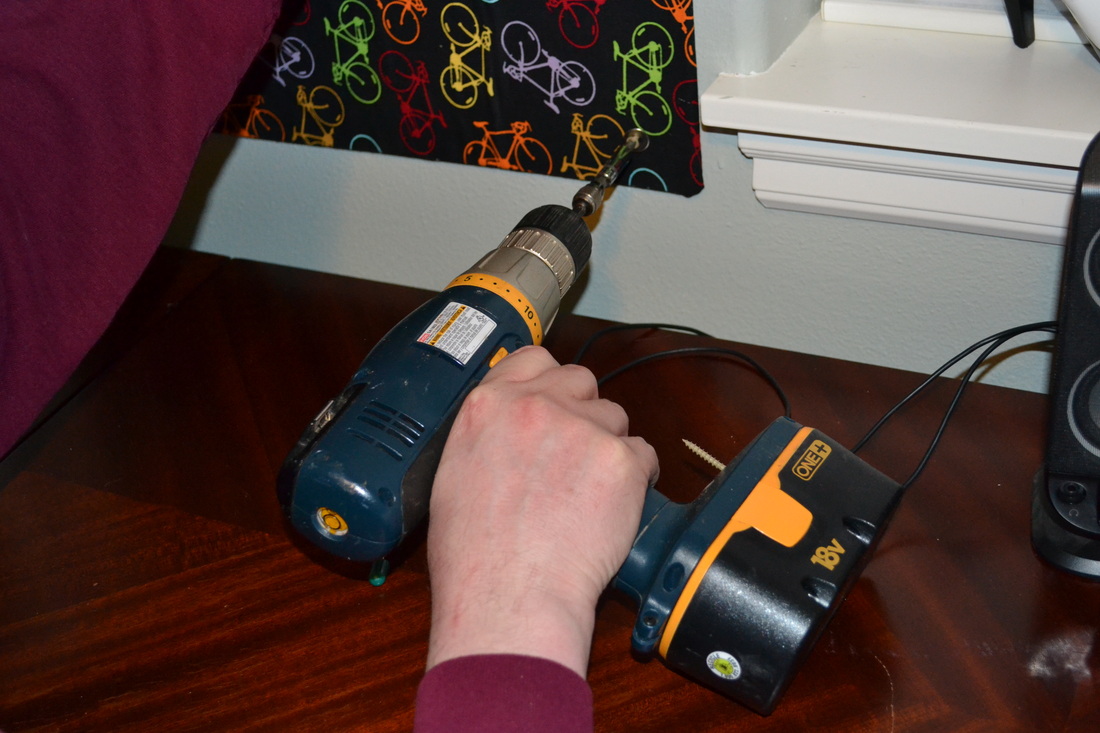 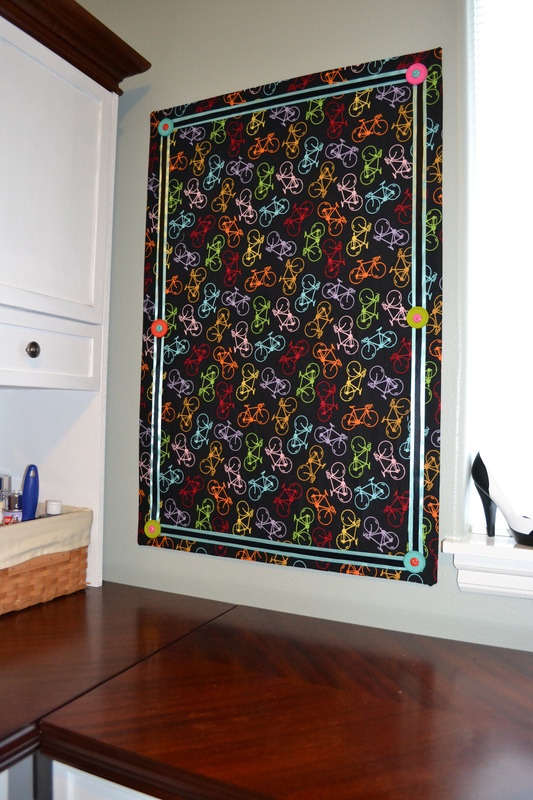 | Ok, let's get started: First you are going to lay out your fabric, face down, completely flat on a table. Take your spray adhesive and give the backside of the fabric a good coating. Be sure to read the instructions on your spray adhesive to assure it works with fabric. It would really stink to waste a good piece of fabric! Also, be sure you cover the surrounding surface so you don't get glue all over your antique library desk (Ummm, yeah, I figured this out the hard way). Now that the fabric is glued, take your cork sheet and lay it on top of the fabric. Be sure to do this part carefully, especially if you have a patterned fabric. You don't want it to be crooked once it's on your wall. Now you can take your fabric and start wrapping it around the sides of the cork. I wrapped it like a present. Now you're ready to hang it. I decided the most useful way would be to just screw it right into the wall. That way I wouldn't have to worry about pulling it down or shifting around when using it. Now, I could have done this project on my own, but having a second set of hands made it a lot easier. Hubs to the rescue! We put 6 screws in all together. 1 in each corner and one on each side about halfway down. Once that was done, I fired up the hot glue gun and put the ribbon on, burning numerous digits along the way. I don't know why, but I cannot seem to operate a glue gun without burning my fingers! I need to invest in some Kevlar gloves! Anyway, I ran a strip of 1" blue ribbon around the outside edge, about an inch in from the sides. Then I took a strip of 1/2" black ribbon and glued it in the center for some contrast. All that's left after that is to glue buttons over the areas where you placed the screws. If you have any questions or comments, please let me know!  |
Linked up at these parties!
Home Stories A to Z: http://www.homestoriesatoz.com/
Home Stories A to Z: http://www.homestoriesatoz.com/

 RSS Feed