  |   |
I've had this piece completed for a few days now, but I just couldn't seem to get the right pictures posted here, so I finally just put them up and went with it!
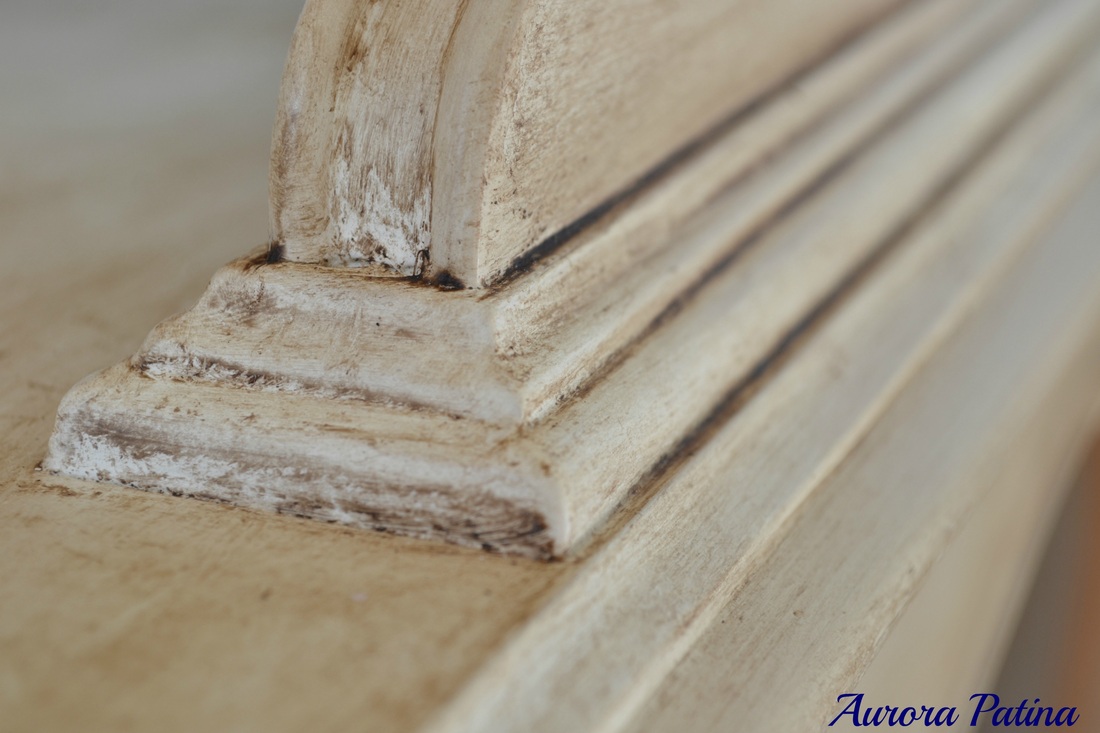
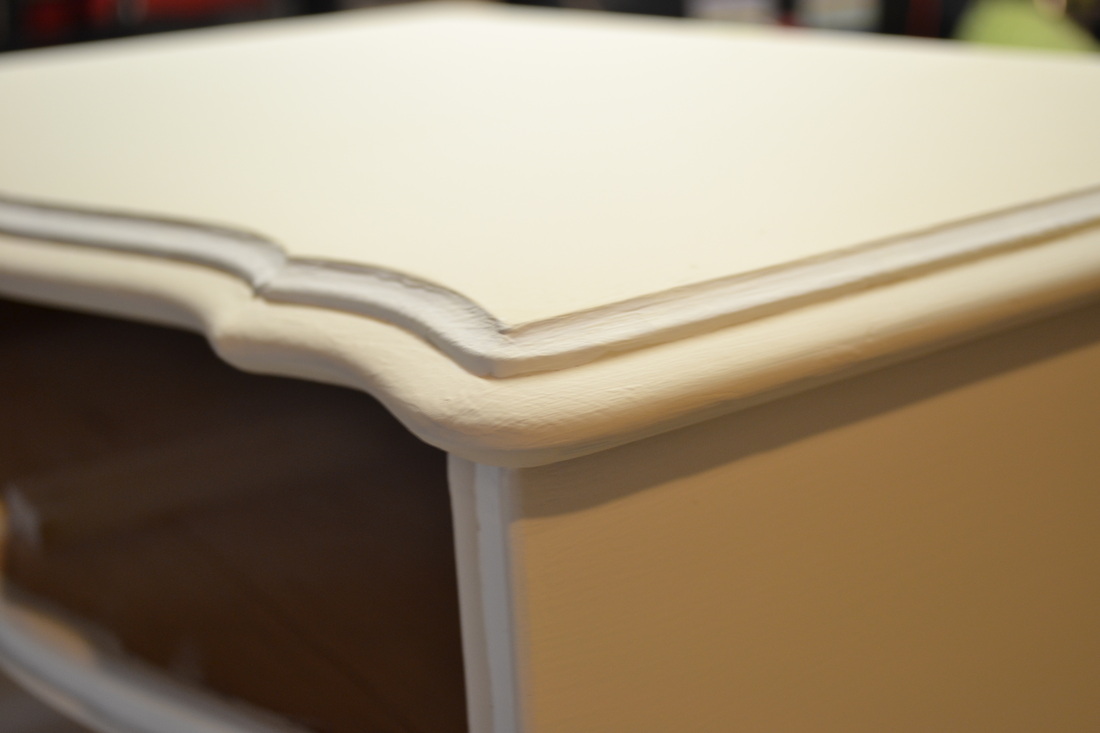
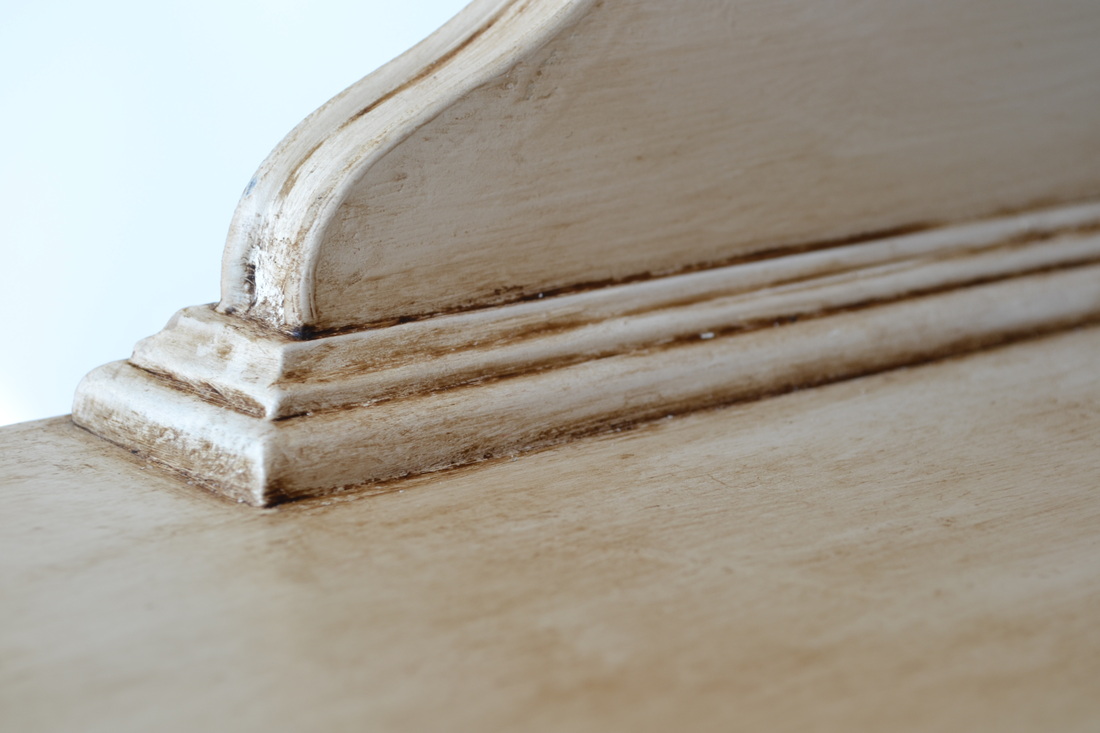
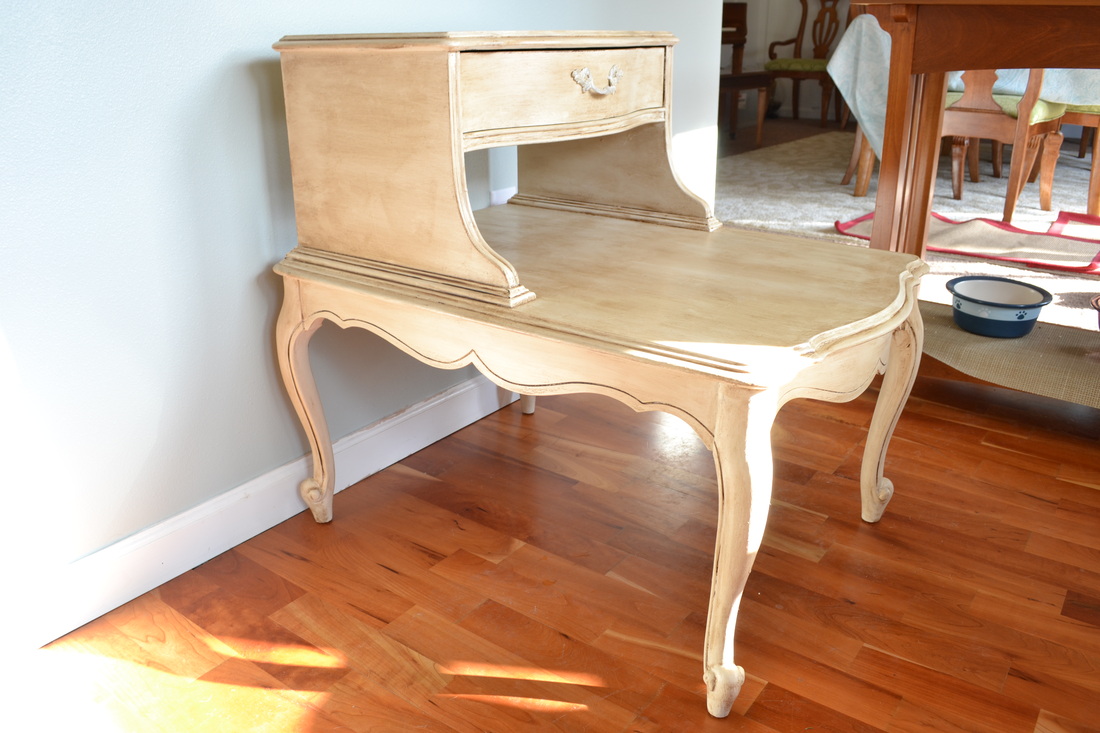
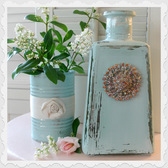
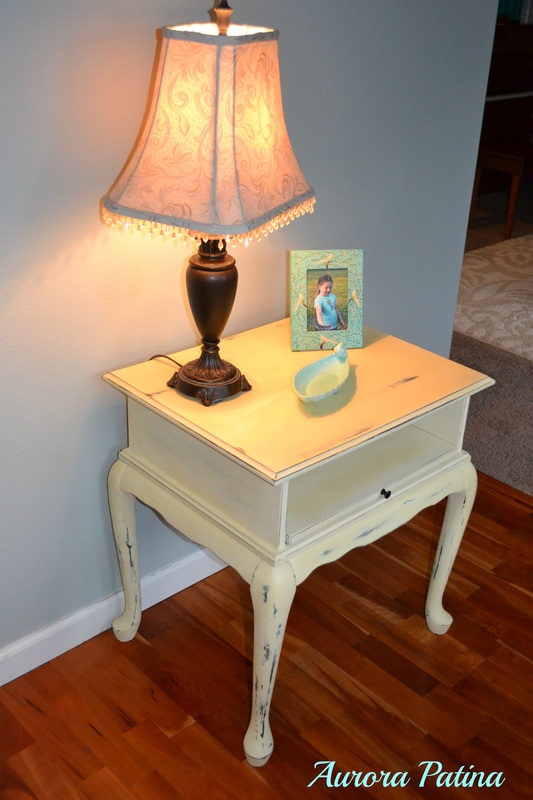
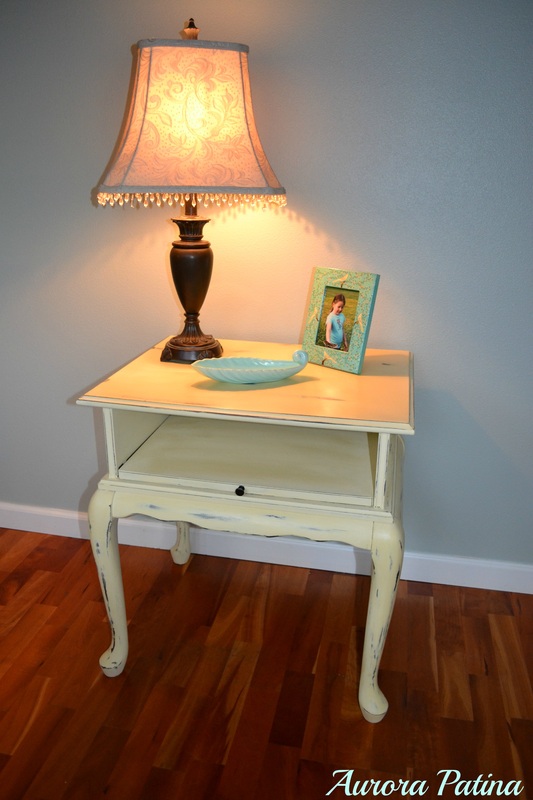
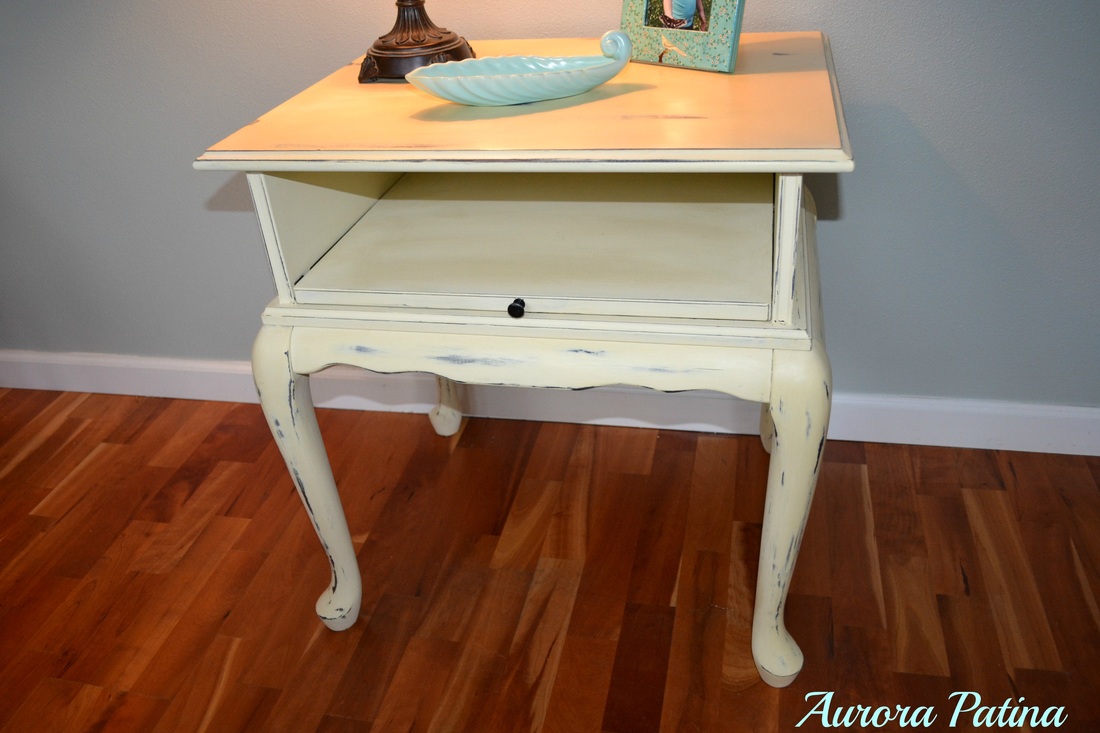
I am really happy with how this project turned out. To me, the paint turned out very "old world", which is what I was going for.
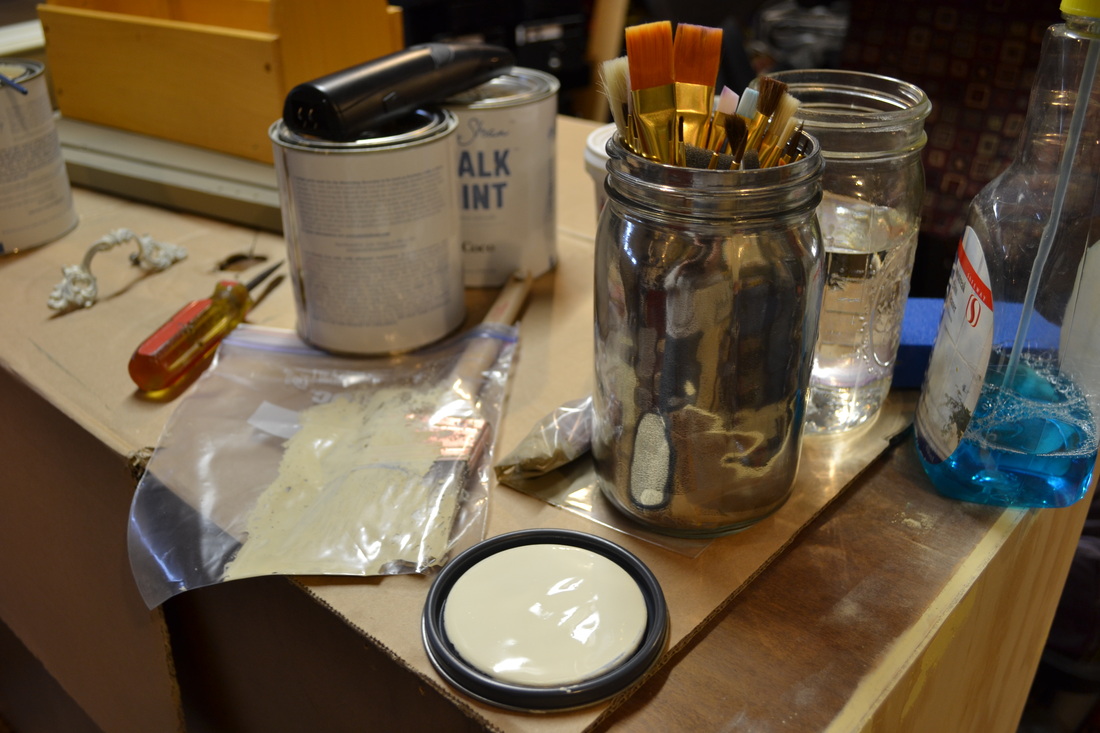
Once again, my hubs found this cute little table - he's becoming quite the partner in this little venture! He took a picture of it on his lunch break and came home after work to show me. I couldn't believe he didn't just buy it! So, we got up at the crack of dawn and drove up to the shop it was in. We were early, so we listened to Macklemore's Thrift Shop a couple of times (nothing like that song to get you in gear for a thrift shop throw-down). Once the doors were unlocked we went straight to the table before anyone else could get it. I was so glad to see it still there. On the way home we stopped in to see Phyllis at The Purple Pear and picked up some ASCP and then headed home.
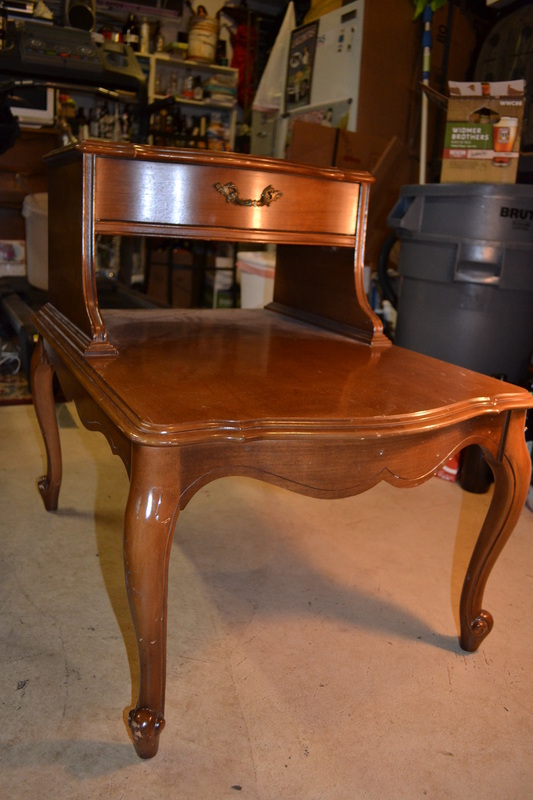
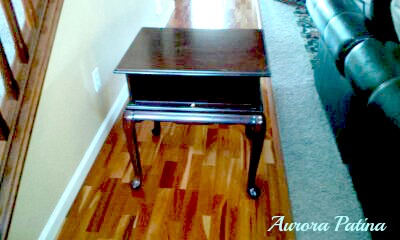
You can see from the "before" picture that this little beauty had probably been sitting in that window for a while. There was some serious dust and dirt, a good amount of decades old scotch tape, and a few scuffs and scratches. So, I cleaned her up and went to work. I did 2 coats of Old Ochre, then went back and highlighted some of the areas in Old White, to add some contrast. I let that dry really well and then did a clear wax coat, then a dark wax coat, then finally, a 3rd clear coat. She is now residing in my dining room. I may end up selling this piece, but I'm not sure yet. If you're interested, let me know!
I am really happy with how this project turned out. To me, the paint turned out very "old world", which is what I was going for.
Once again, my hubs found this cute little table - he's becoming quite the partner in this little venture! He took a picture of it on his lunch break and came home after work to show me. I couldn't believe he didn't just buy it! So, we got up at the crack of dawn and drove up to the shop it was in. We were early, so we listened to Macklemore's Thrift Shop a couple of times (nothing like that song to get you in gear for a thrift shop throw-down). Once the doors were unlocked we went straight to the table before anyone else could get it. I was so glad to see it still there. On the way home we stopped in to see Phyllis at The Purple Pear and picked up some ASCP and then headed home.
You can see from the "before" picture that this little beauty had probably been sitting in that window for a while. There was some serious dust and dirt, a good amount of decades old scotch tape, and a few scuffs and scratches. So, I cleaned her up and went to work. I did 2 coats of Old Ochre, then went back and highlighted some of the areas in Old White, to add some contrast. I let that dry really well and then did a clear wax coat, then a dark wax coat, then finally, a 3rd clear coat. She is now residing in my dining room. I may end up selling this piece, but I'm not sure yet. If you're interested, let me know!
 |  |


Aurora Patina is Linked Up @ These Parties:
Skip To My Lou: http://www.skiptomylou.org/
Craft-O-Maniac: http://www.craft-o-maniac.com/
My Uncommon Slice of Suburbia: http://myuncommonsliceofsuburbia.com/
C.R.A.F.T.: http://www.creatingreallyawesomefreethings.com/
Mod Vintage Life: http://modvintagelife.blogspot.com/
The Blackberry Vine: http://blackberryvine.blogspot.com/
Today's Creative Blog: http://todayscreativeblog.net/
Hope Studios: http://www.hopestudios.blogspot.com/
Do Small Things With Love: http://www.dosmallthingswithlove.com/
Boogie Board Cottage: http://boogieboardcottage.blogspot.com/
The Cottage Market: http://www.thecottagemarket.com/
Jennifer Rizzo: http://www.jenniferrizzo.com/
Fluster Buster: http://www.flusterbuster.com/
Domestically Speaking: http://www.domestically-speaking.com/
Kammy's Korner: http://www.kammyskorner.com/


 RSS Feed