Ok, so on to today's pictorial, lot of pictures! I hope you enjoy!
|
Good Morning Friends! I had anticipated I would be posting my kitchen reveal today, but alas, it's not quite done yet. 1% to go and then it will be completed. That last step happens on Monday and then I can show you! I will say, I am in love with the transformation. It's so bright and airy now, much better than the cave it felt like before! Besides DIY, hubs and I really love to work in the yard. Every year we plant and bark. We're working in more perennials than ever before. We have a smallish yard, but even so, annuals every year get pretty spendy. I LOVE Hostas and Hydrangeas, we have quite a few of each in the shadier parts of the yard. Hubs favorite are Canna's and Coleus . The funny thing is, we have a REALLY hard time remembering any plant names, so we do a lot of "that plant over there in that square planter thingy". Luminosity is a girls best friend!
Ok, so on to today's pictorial, lot of pictures! I hope you enjoy!
23 Comments
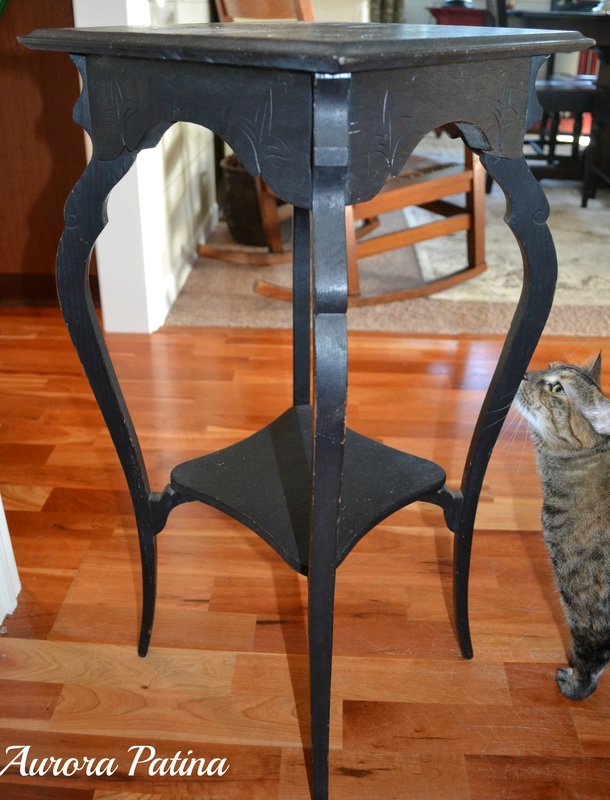
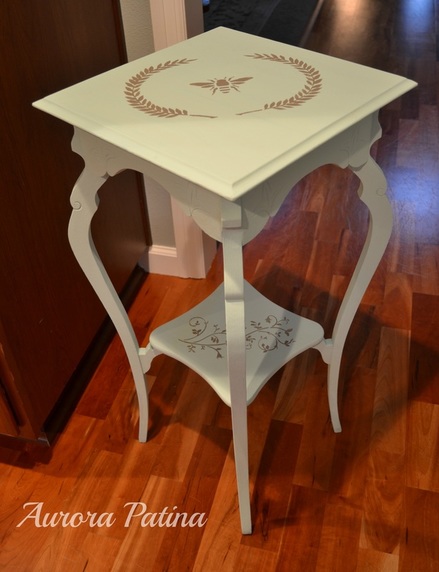
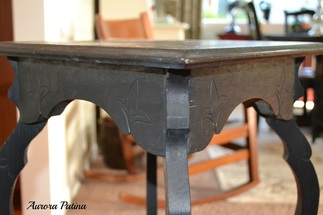
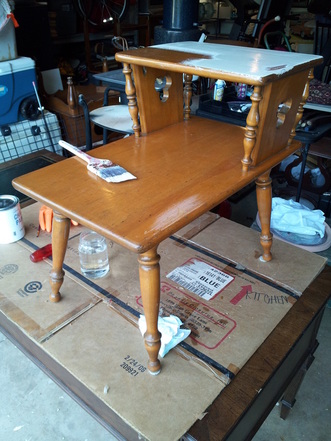
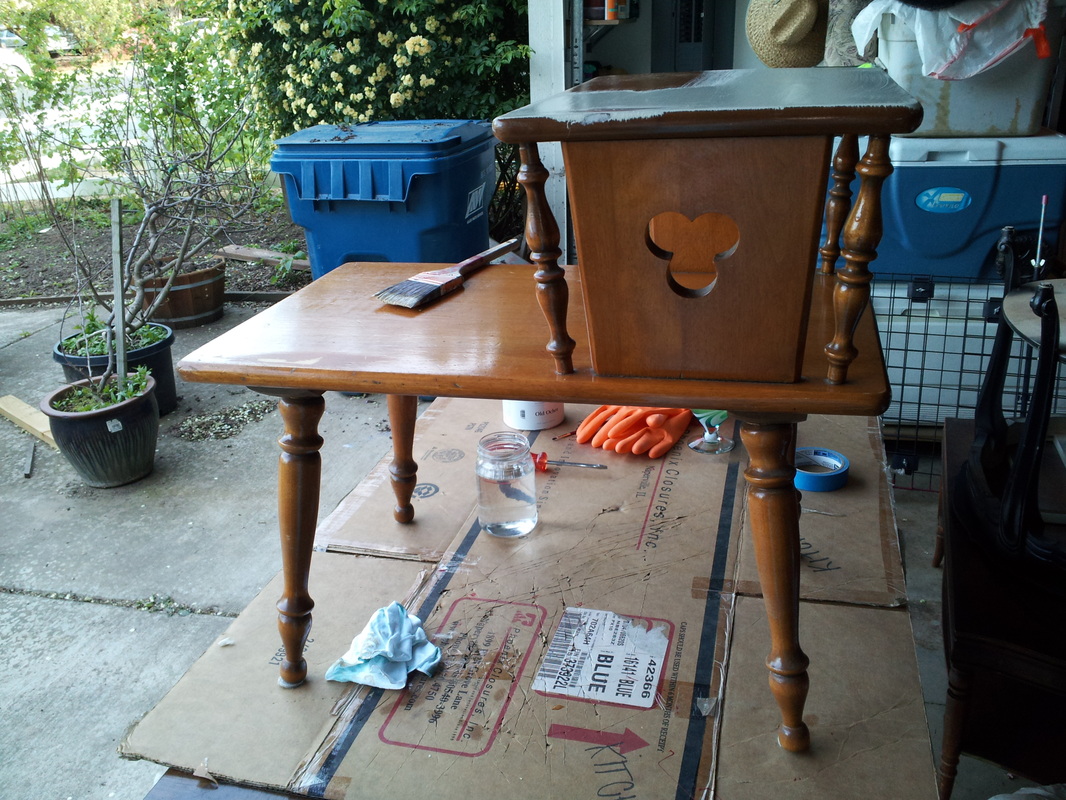
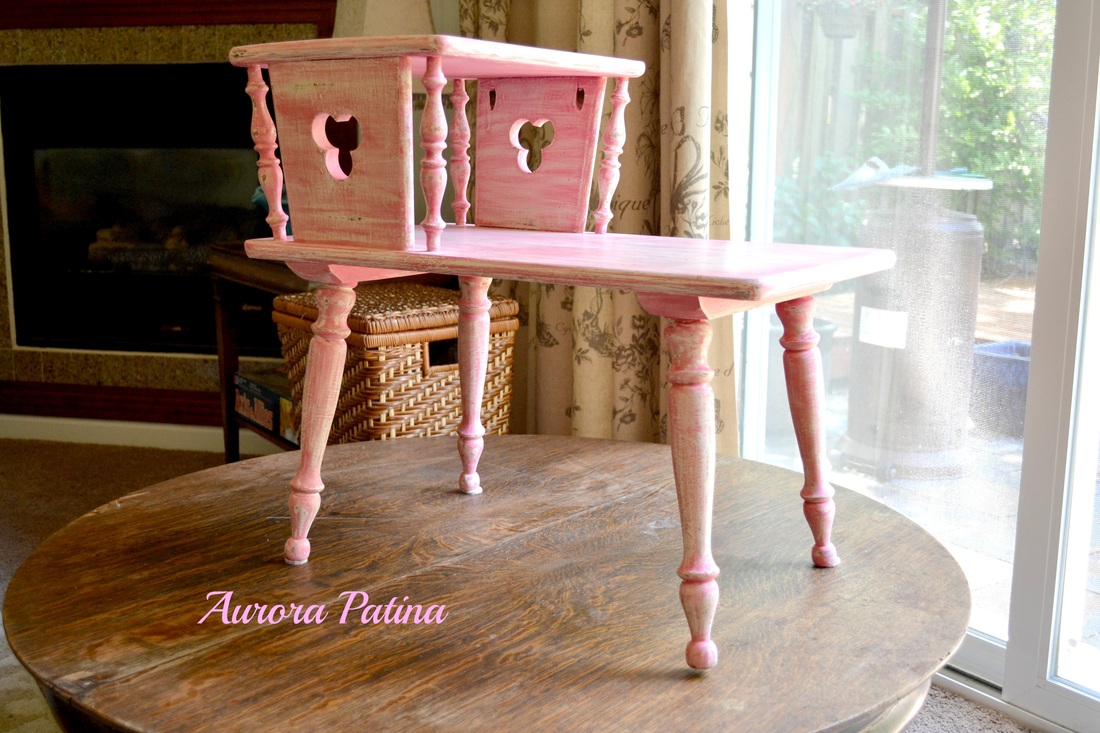
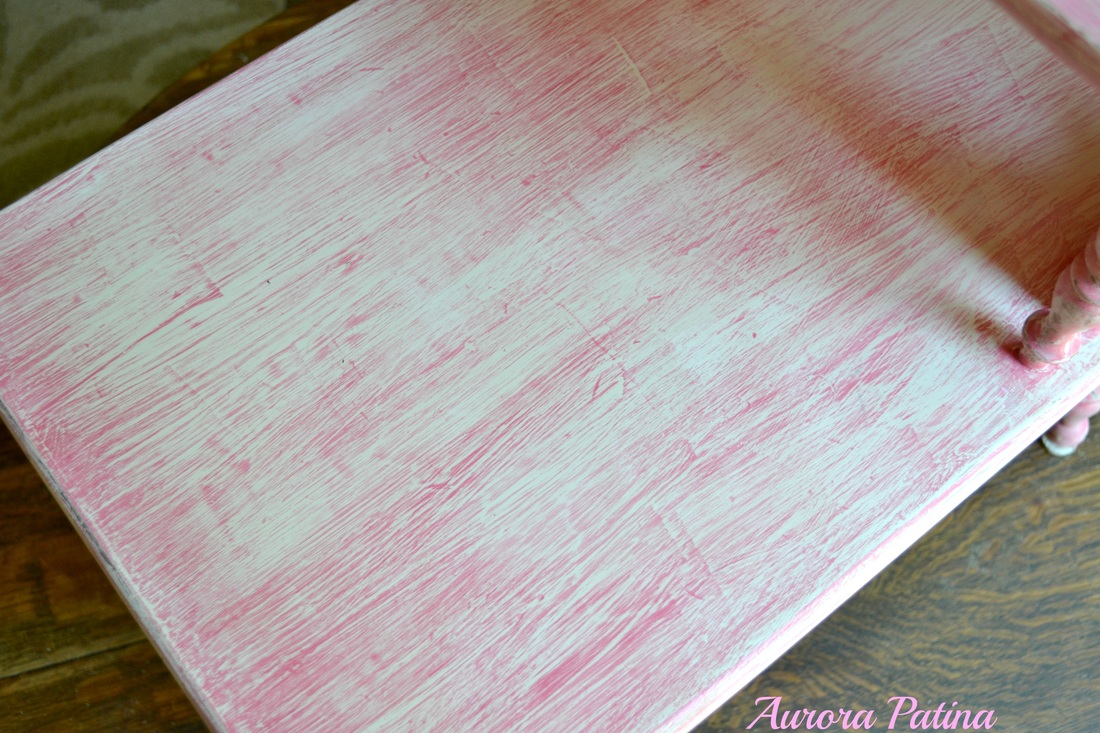
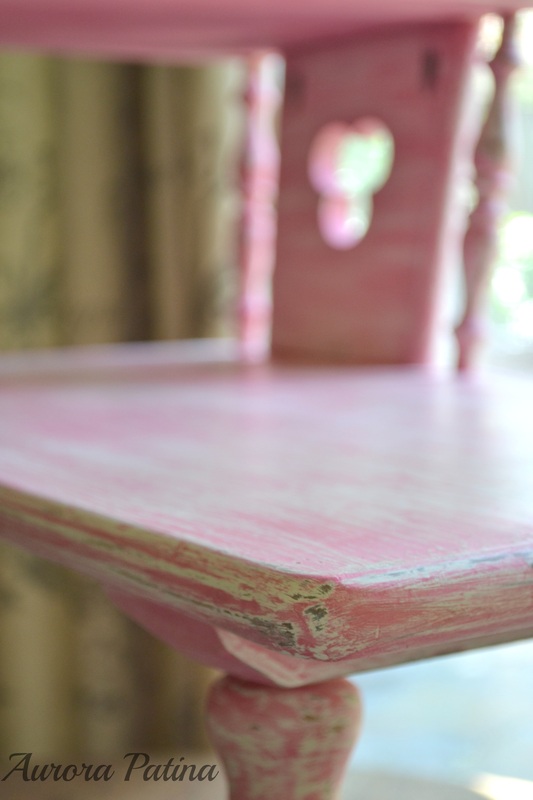
Happy Easter Friends! I hope you are all having a great day with family and friends. Since it is a family day, I am just going to do a super quick post about a little table I did today.
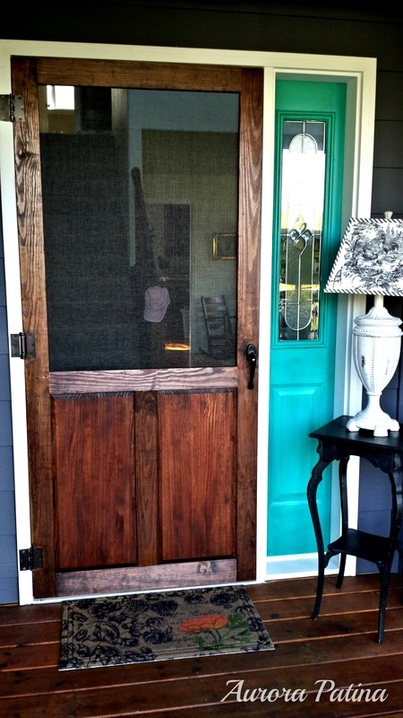
Hi Again Friends! Welcome back - I hope you have all had a great week! We have been super busy. Hubby's mom and dad flew in to the west coast from Iowa to take care of their granddaughters, so we made a quick trip to Redding, California. We were only able to spend a couple of days down there, but luckily, they were able to come up for a quick visit here. While they were up, I managed to talk hubs and his dad, Mike, in to hanging a screen door for me! They did an amazing job at our last house, so I was pretty excited to have them do it again. As a matter of fact, I told Mike that if we moved again, we would love him to hang a third! The look on his face was priceless! Seriously, though, I was SUPER grateful for his help. He was not to pleased with me being a paparazzi through the whole process, but he finally just ignored me.
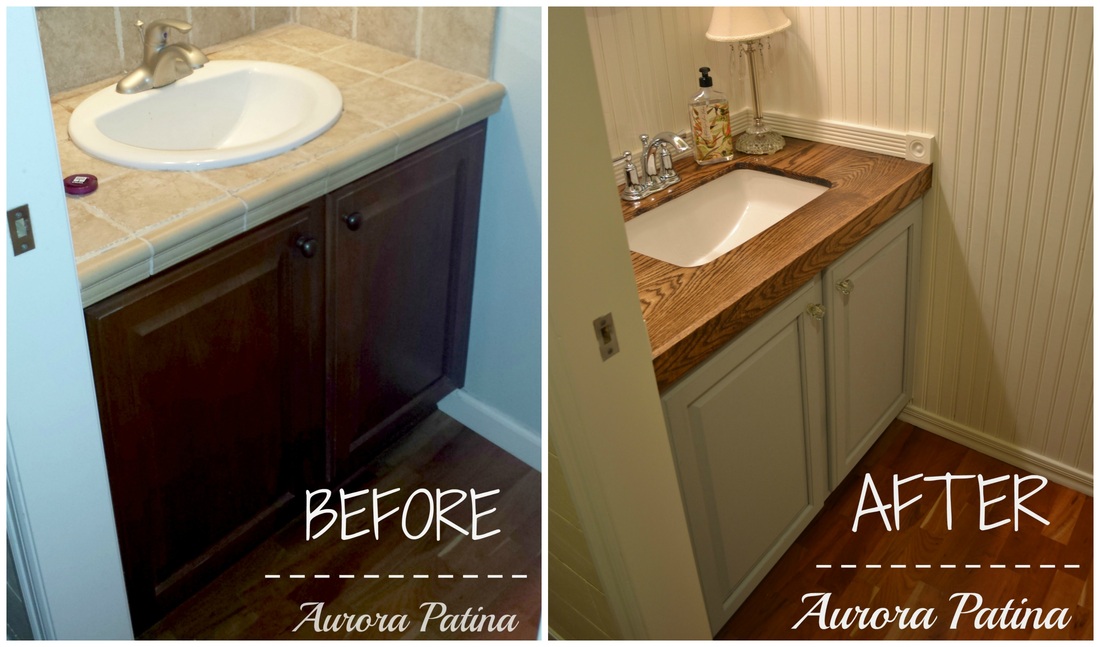
Hi Friends! This week I'm back with our recent powder room "remodel". This is a project that I have been thinking about for more than a year. I finally started figuring out what I really wanted to do in there and decided a plank wood counter-top would be really cool. I also knew I wanted to do wainscoting. This is going to be kind of a lengthy post, so if you are just here to see the pictures, scroll on down!
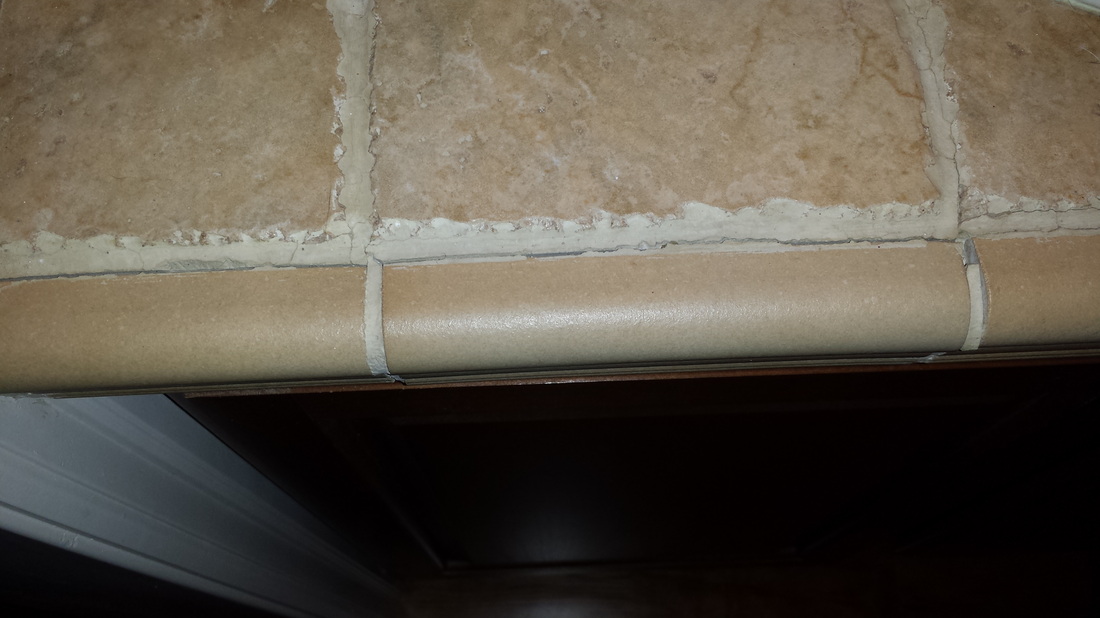
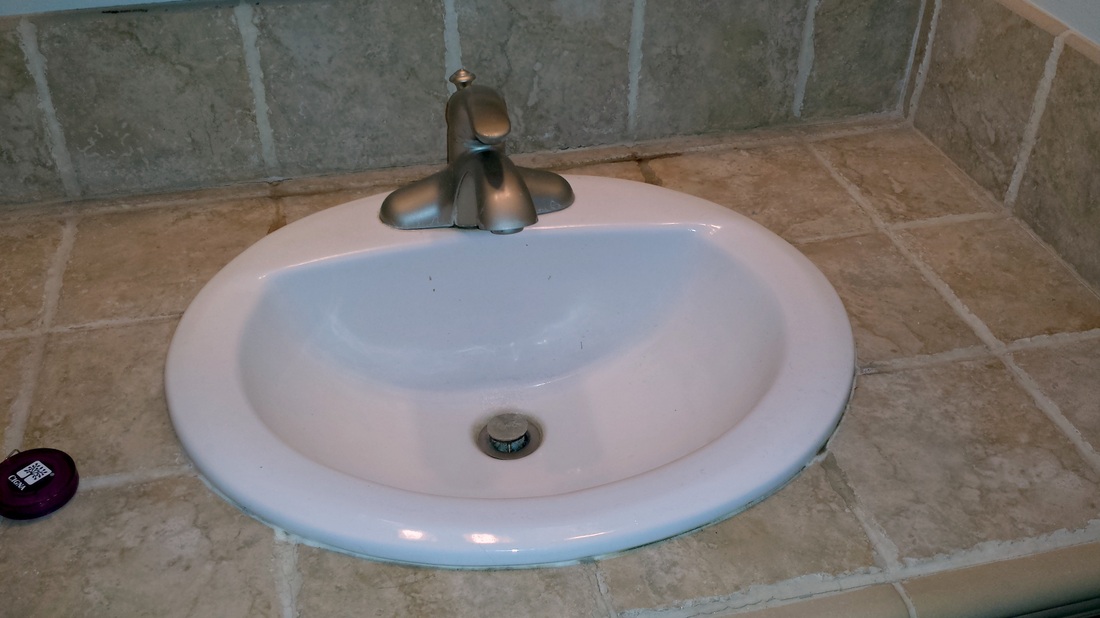
One problem we inherited with our house is the poor tile work. The grout is falling apart and the tiles are actually falling off the counters. The water would always pool up behind the sink and I really didn't like the sink or the faucet.
The first step was getting the tiles off the counter. I barely touched the ones on the front and the entire row of bull-nose tiles fell right off. Since that was a piece of cake, I figured the others would pop right off without a lot of work. I was wrong. Really, really wrong. They were there for the long run. Oh well, that's what hammers and chisels are made for!
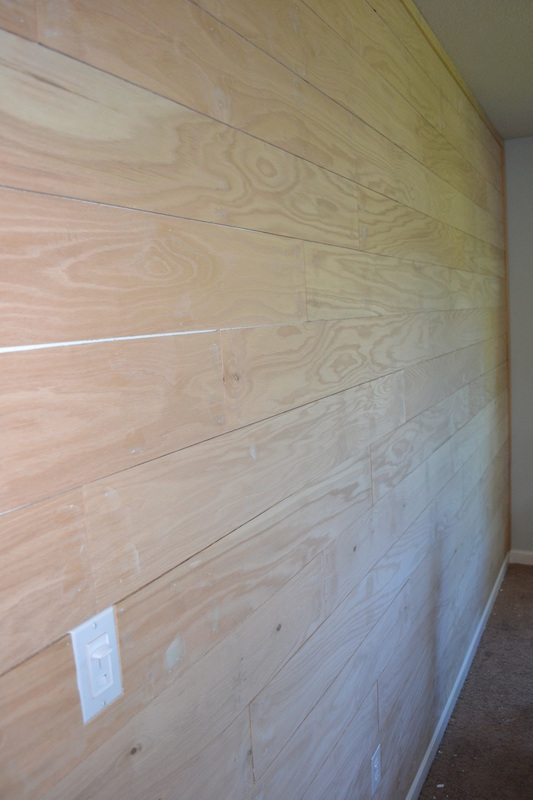
I'm still digging in to my backlog of projects to post on. This week it's the plank wall we completed last Summer. I don't know if you've seen the show Fixer Upper, but it seems like a ton of the older houses in that show have shiplap. I REALLY love that look! Our house was built in 2004, so alas, no shiplap for me. Not to worry, I can fix that!
First I started doing research about what kind of product I should use. I knew it needed to be very thin. I found just what I was looking for at our local Lowes. It came in 8 foot sheets and at the time, I didn't have much in the way of saws, so a little bit of "woe is me" went a long way. The nice kid at the store took pity on me and ripped the sheets in to 6" strips for me!
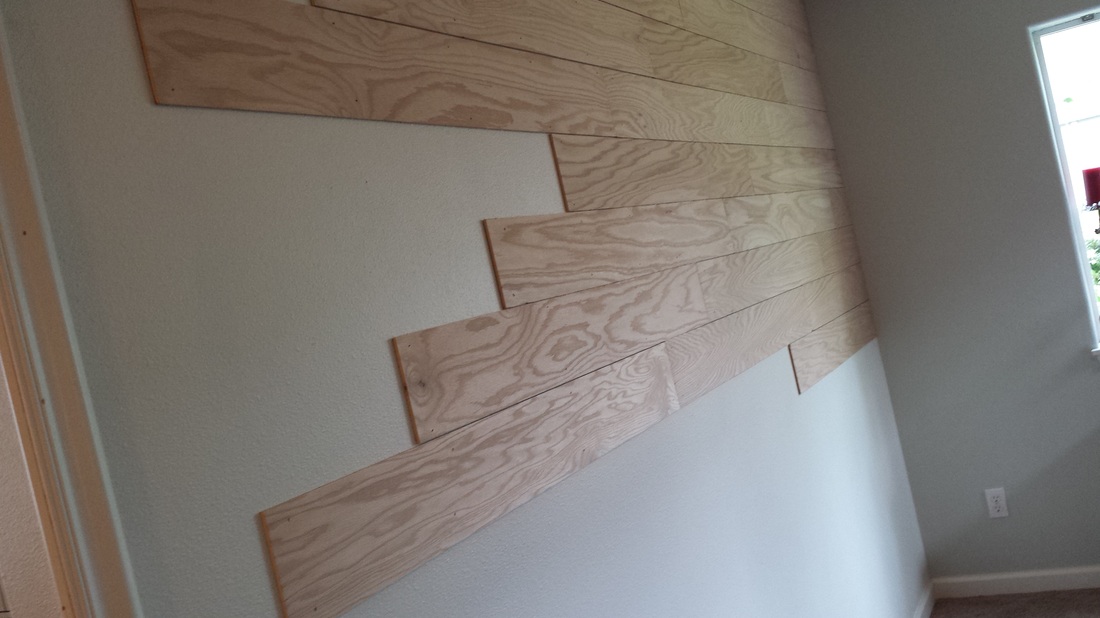
We put the first strip up on the wall and followed a pretty simple pattern. We just moved the second board, one foot to the left, then the third board was set one foot further to the left, kind of like stairs. You can see it in the picture above. In a few hours we had the entire wall done.
It's worth noting that you can use something flat, like a paint stick, to keep your spacing between boards even. I have to admit, though, I used my eyeballs! Also, If you don't already have a nail gun, it is definitely worth your money for a project like this. Either that or borrow one from your friendly neighbor!
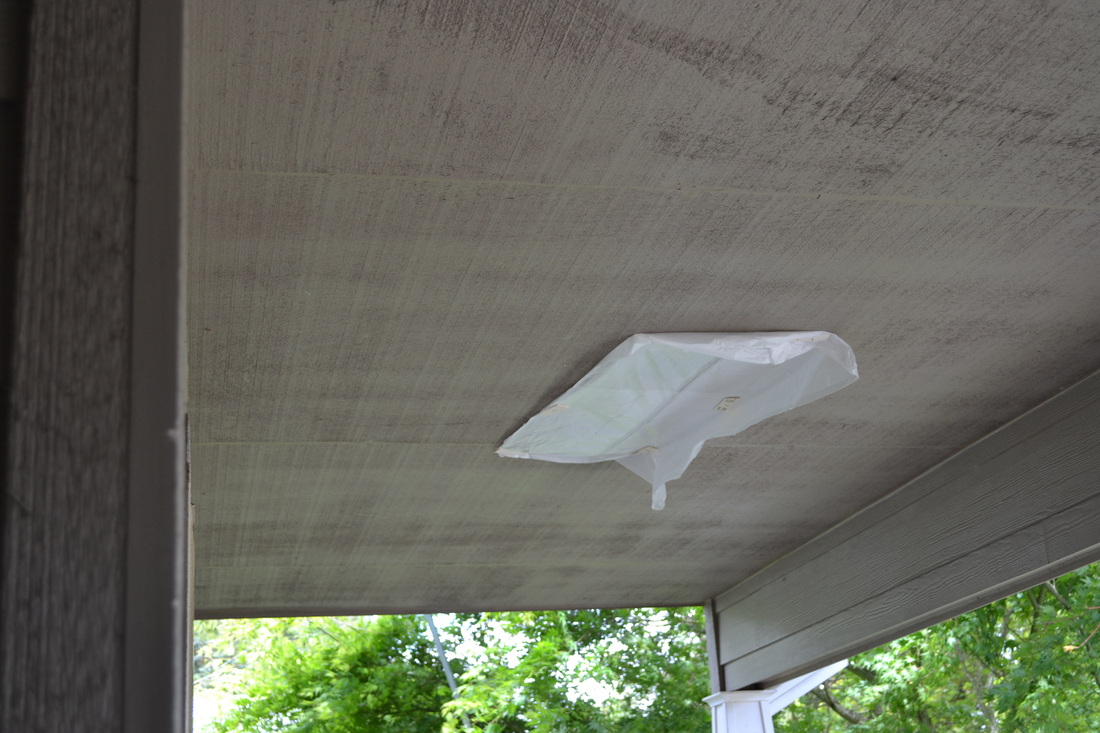
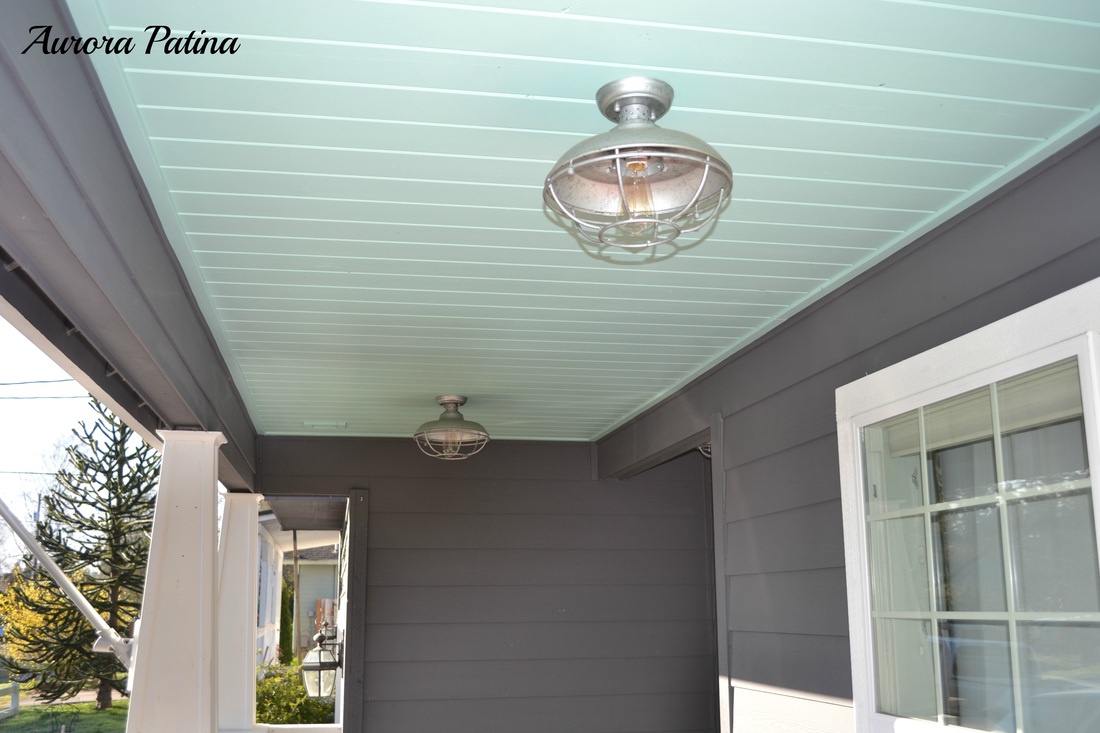
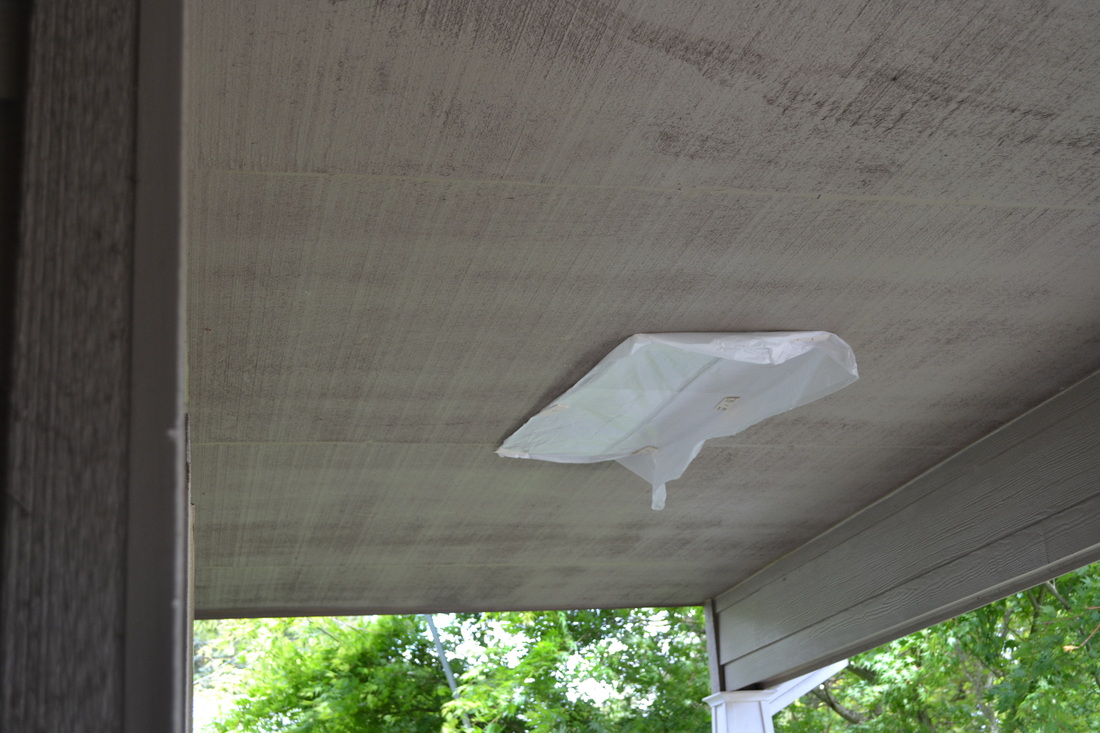
Hi Friends! I hope you have had a great week! I have been sick as a dog, but am on the mend, so all is good! Today I have been going through my backlog of project pics and have decided to post about a fairly quick and easy project Hubs and I did last Spring. The area we updated had not even crossed my mind until I stumbled on to a home blog about a new build. One of the pics showed some workers putting tongue and groove up on the porch ceiling. So, of course, my next step was to walk out on to my porch and take a look. I did not like what I saw! Not even a little. Mind you, we've been here for nearly 10 years and I've looked at the porch ceiling many times, but I guess I didn't really "see" just how builder grade blah it was.
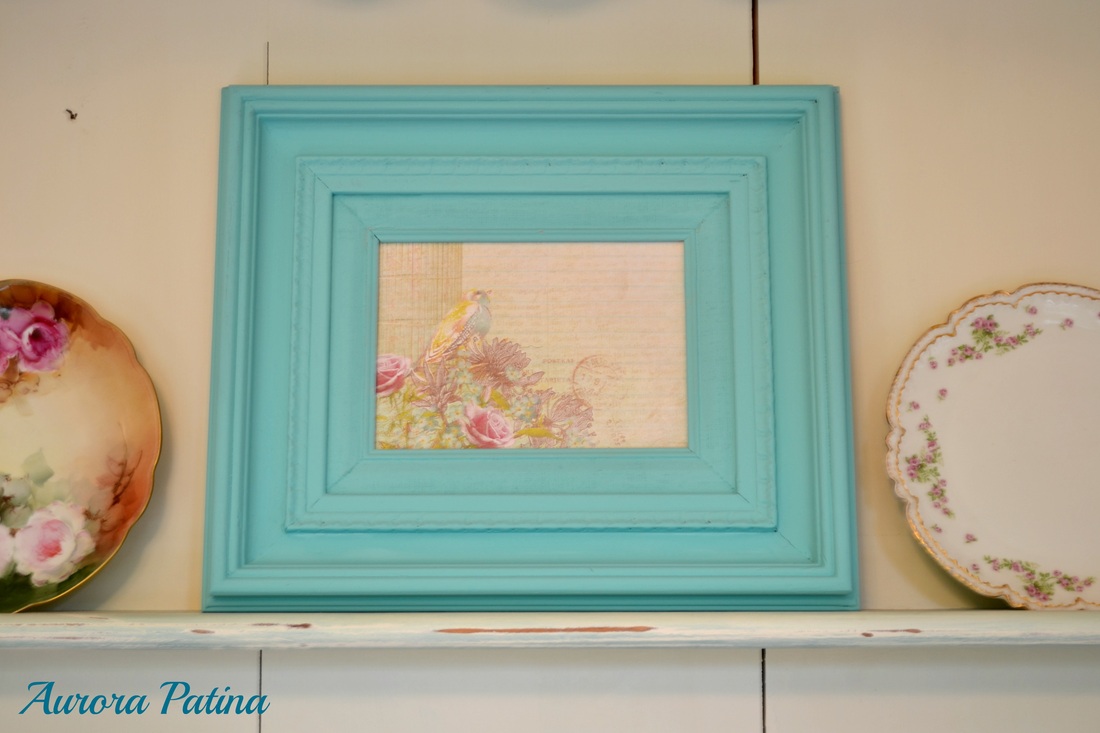
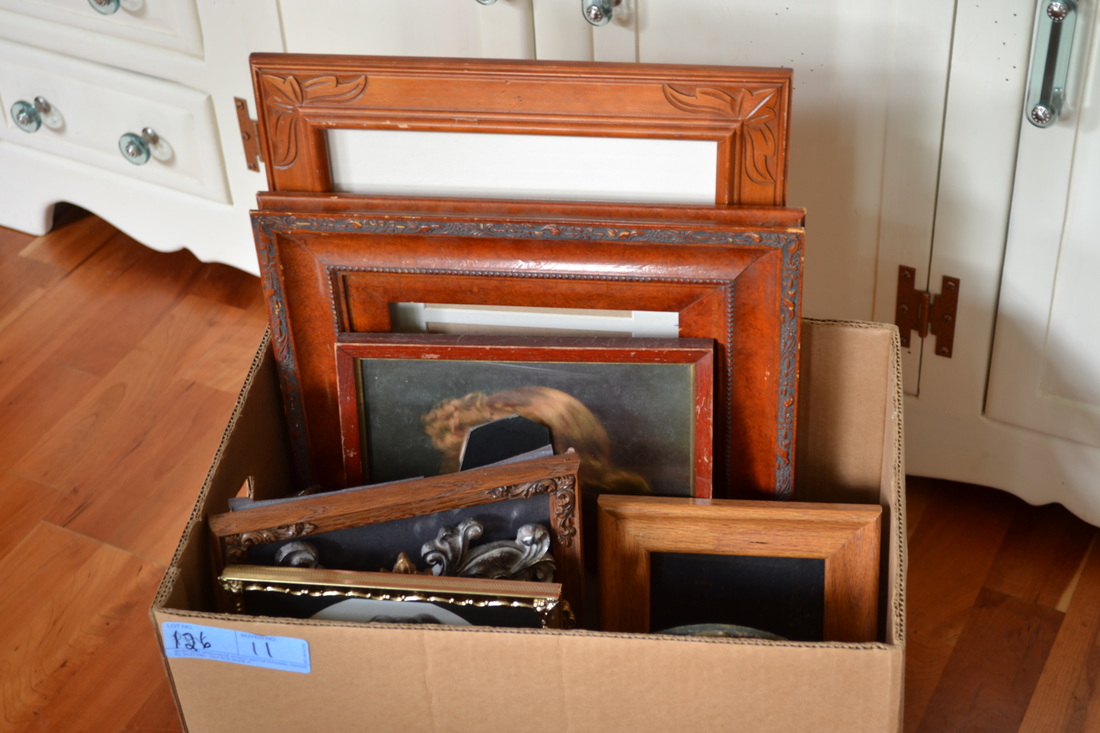
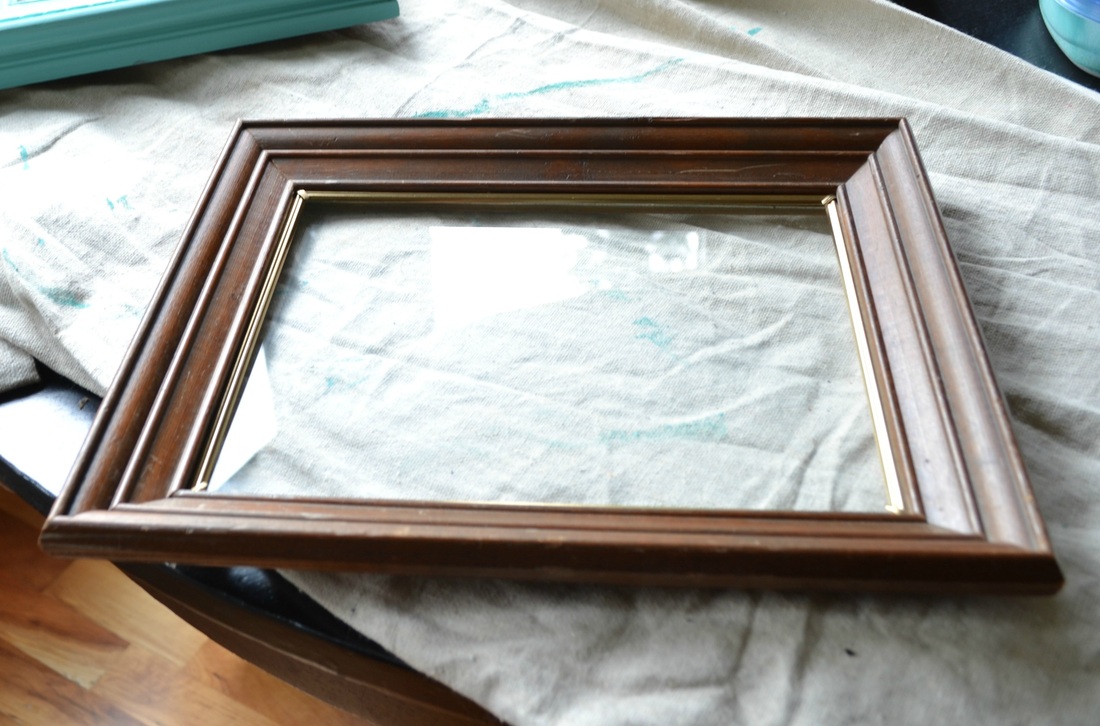
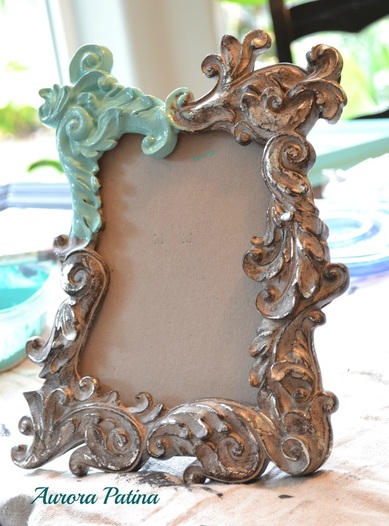
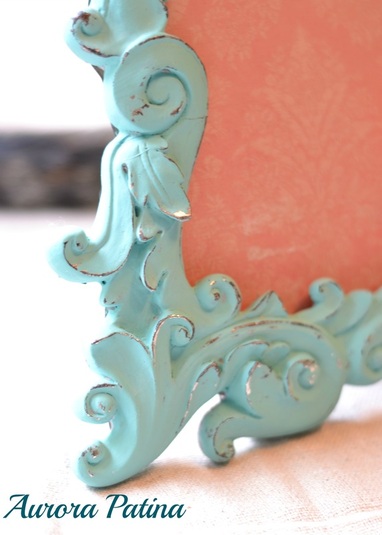
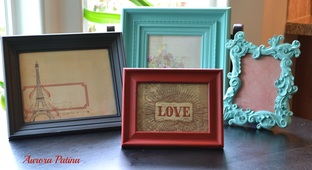
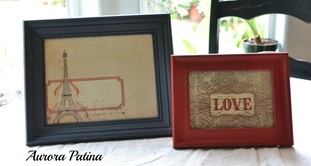
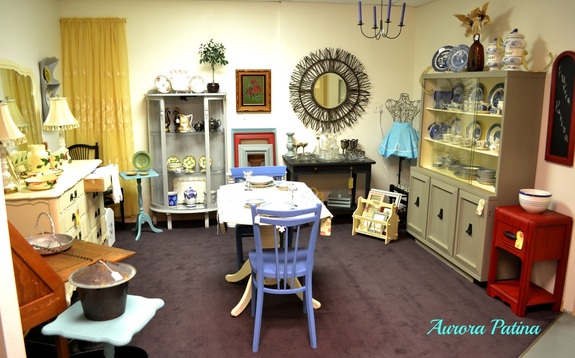
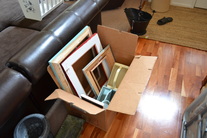
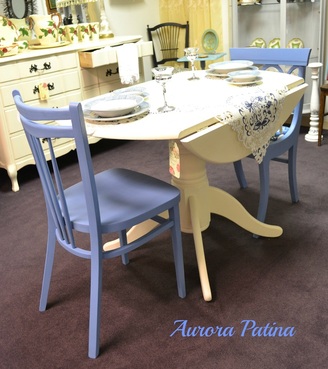
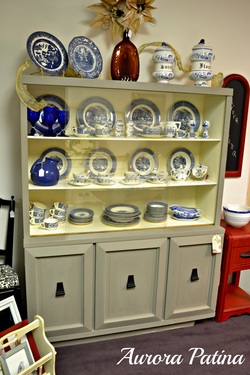
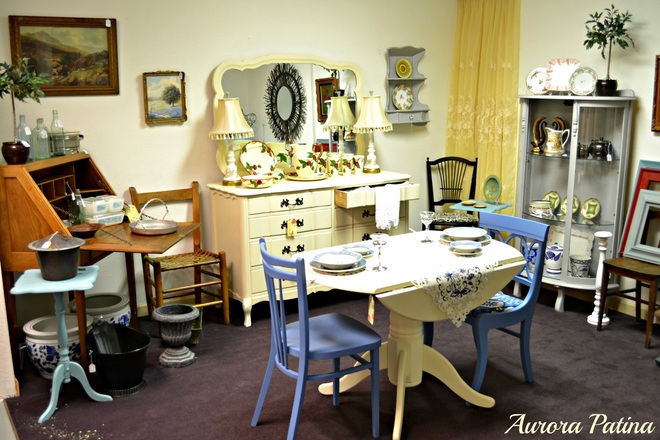
Happy day, friends! It's been a couple of weeks. Again, I find myself apologizing for taking so long to post. We have had family in town for a week and my work (yes, I still work a "real" job) moved to a new building last week. It's been super hectic. While the hubs folks, sister and her kiddos were in town, we managed to sneak away to the auction here in town. We are lucky to have an auction house 2 minutes from our home. It's pretty great - dangerous, but convenient and FUN! If you haven't been to one, you should definitely Google auctions in your area. Even if you don't purchase something, it's a blast! Go in with a budget, though. It's tempting to try to out bid that jerk, ahem, I mean nice man, with loads of dough! Don't do it! Hubs and I "stole" this box of frames for ten bucks! Actually, the picture of the box above is short about 5 frames (I had already taken them out to work on when I took the photo). Some of them were old, some not so much. Actually, I guess some were probably vintage 80's, haha, I guess for some of you, that might be old. Anyway, Everyone loves a good frame, right? They were mostly wood, but there were some metal ones in there too. I painted these up with Annie Sloan Chalk Paint, waxed them and added some pretty scrapbook paper. I know the 4 together are a little crazy as far as color combinations go, but I try to mix it up a bit when thinking about what will go in the shop. What floats my boat might not float yours! Thanks for stopping by, my friends! I'm hoping as summer winds down, I'll be able to post at least once a week. Who knew that working full-time, painting AND blogging could take up so much time, haha! Until next time... Linking up at these great parties!!! Hi Friends! I know I've been slow posting lately. It's not because I don't want to, it's because my life has been a whirlwind lately! I had to go in to production mode to get enough furniture ready to open up the space. Phew! What a crazy month! First off, I'd like to introduce you all to my mom, Kathy and one of my BFF's Kristi! These two beautiful ladies are partners in the space with me. They have both helped a great deal in making this chapter happen. My mom has been an interior decorator for a number of years. She has her own business, K.A. Wilson Interior Design. She's been all over France with clients on furniture buying expeditions (yeah, I'm a LITTLE jealous) and completed "Parade of Homes" houses a couple of times. Mom has a great eye for decor!
Kristi has a business, Trashy Designs, doing a variety of different projects surrounding salvaged goods and "trashion". She has made some amazingly beautiful pieces out of what most people would consider garbage. She is a pro at turning unwanted items into things of beauty. I'm so excited the shop is officially up and running. It was quite a challenge getting ready and moving in. I had a sinking feeling when monsoon worthy rain came down the second the first piece of furniture came out of the garage to be transported. I haven't seen crazy rain like that in ages. It poured the entire time we moved. Even now, I'm sitting here shaking my head in disbelief. However, we powered through it and it's official! Thanks a TON to everyone in who made this happen! Especially to Hubs, the love of my life, who supports me in all things, whether he thinks it's crazy or not! I'm looking forward to this fun adventure! If you are in the Portland/Salem/Vancouver area, come check us out. We're at the South End Antique Mall, in Aurora - 21128 Pacific Hwy E, Aurora OR
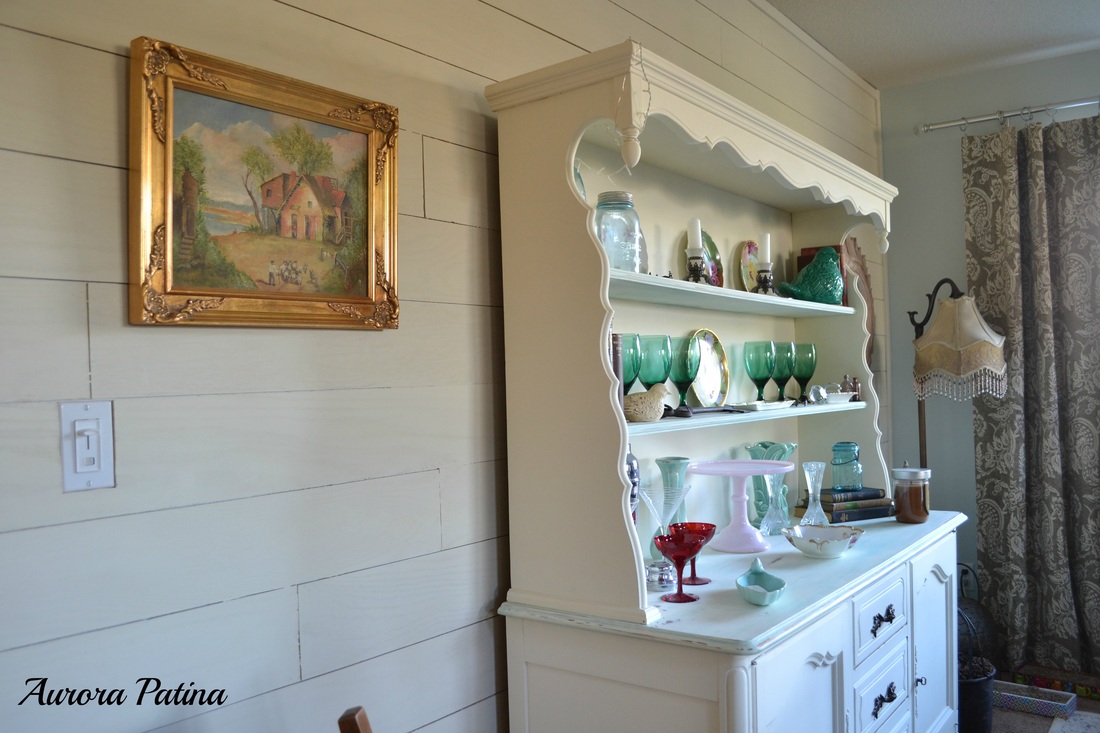
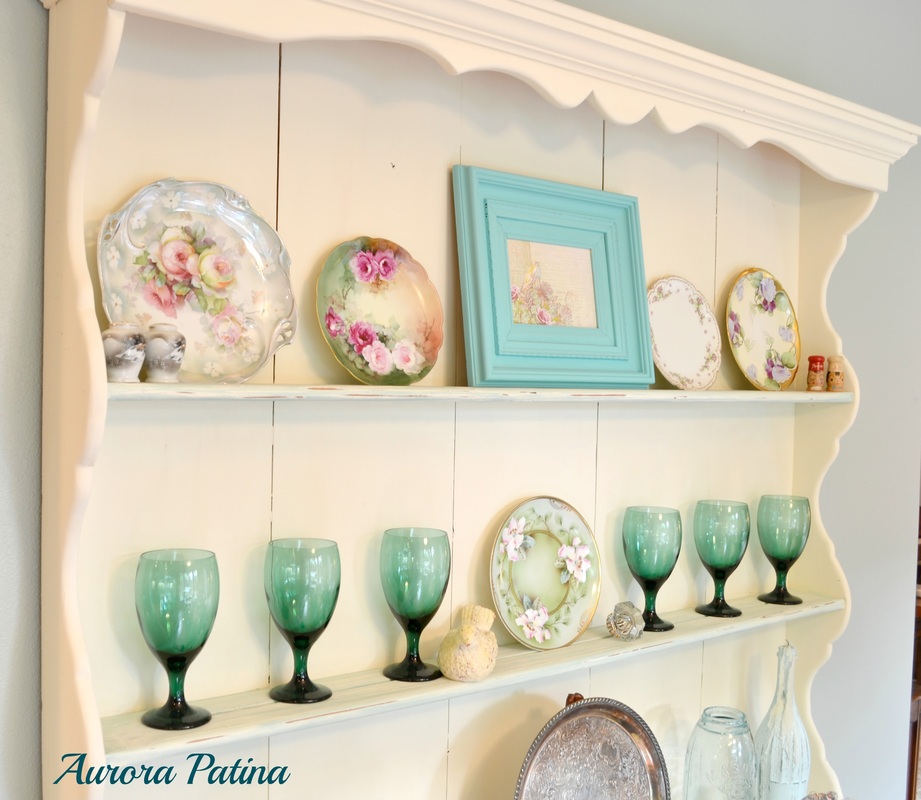
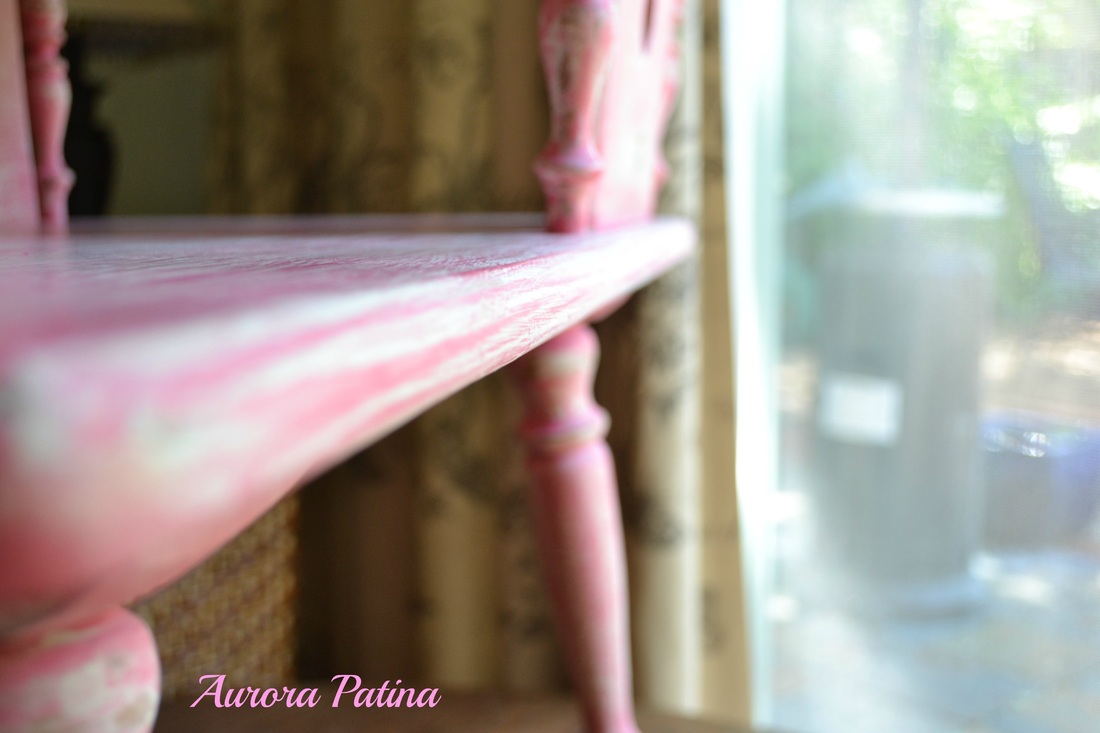
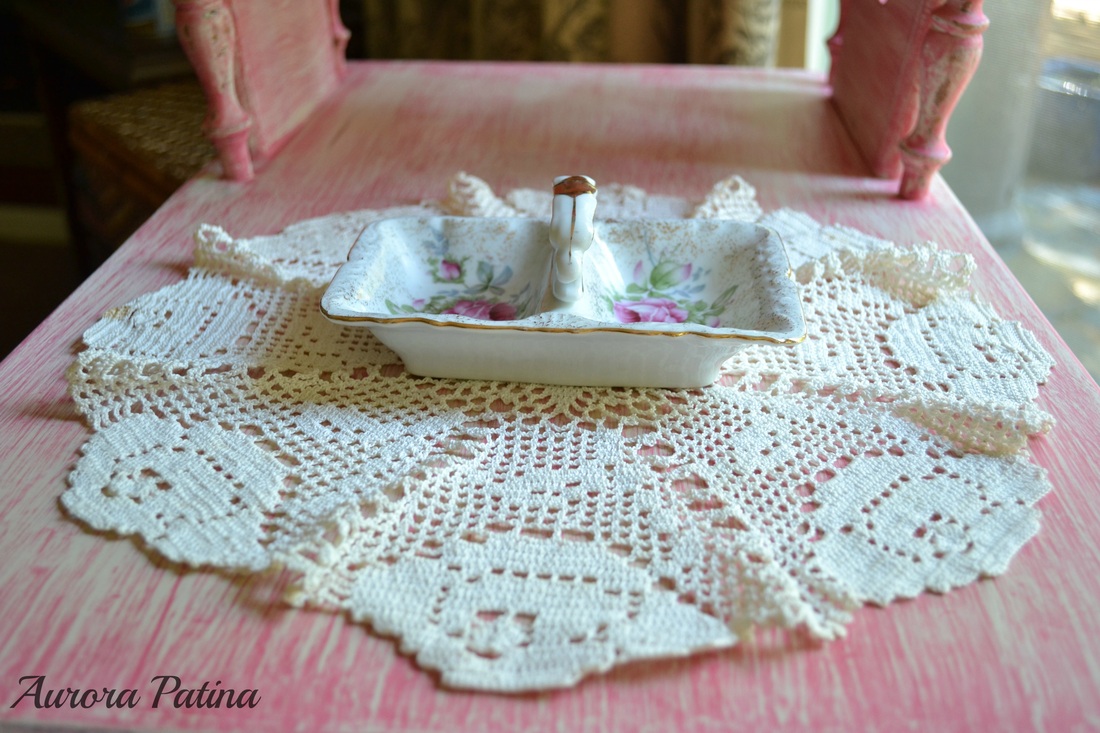
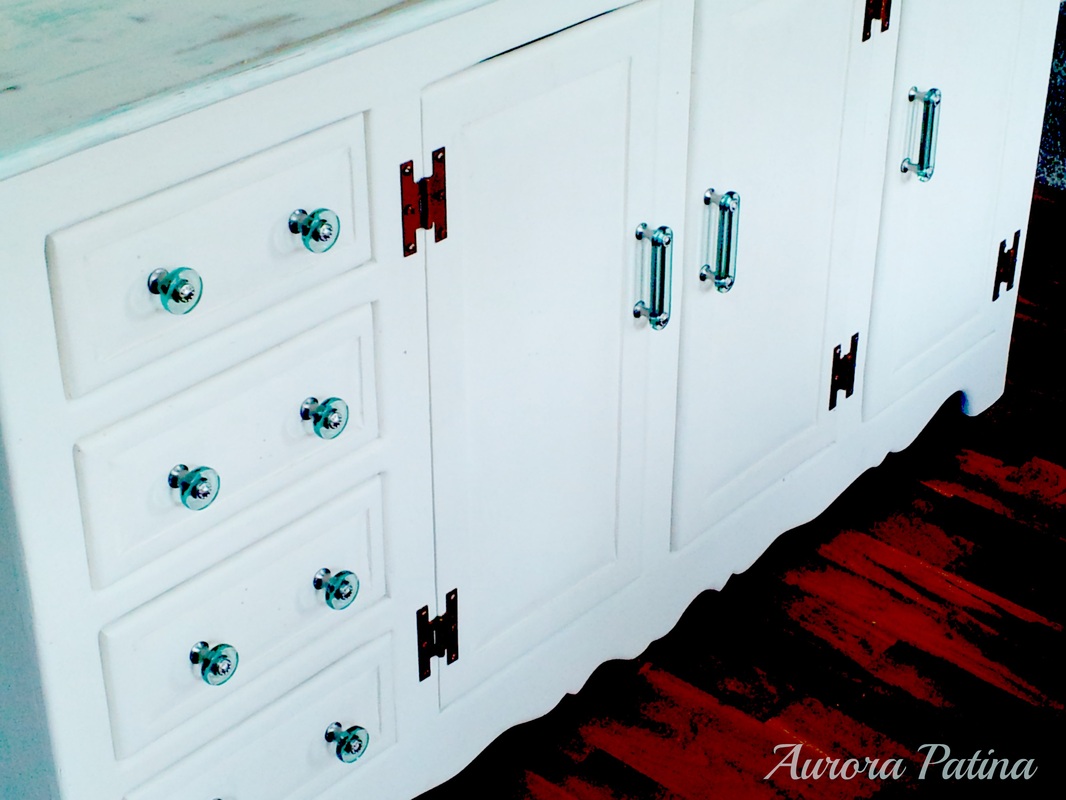
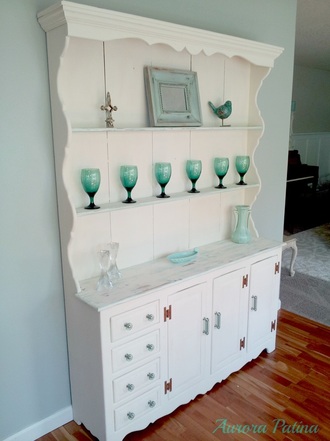
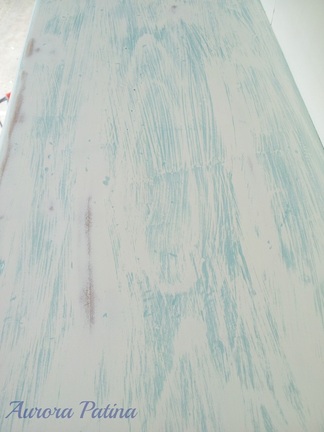
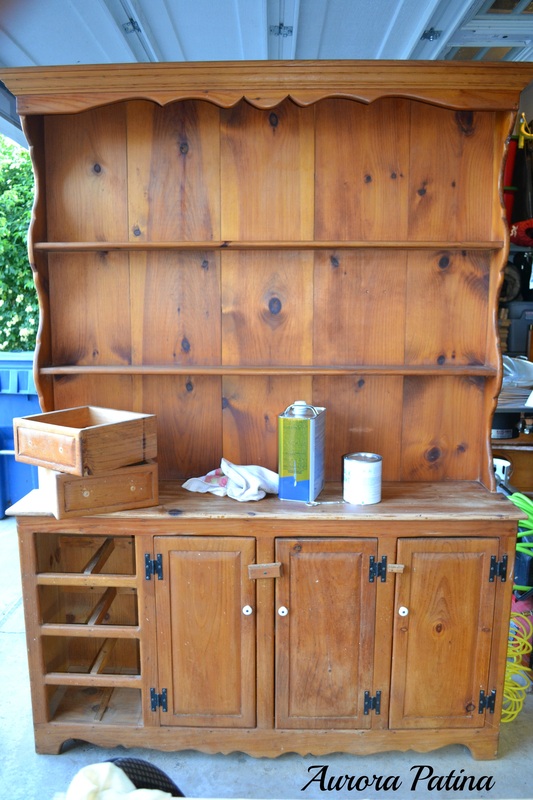
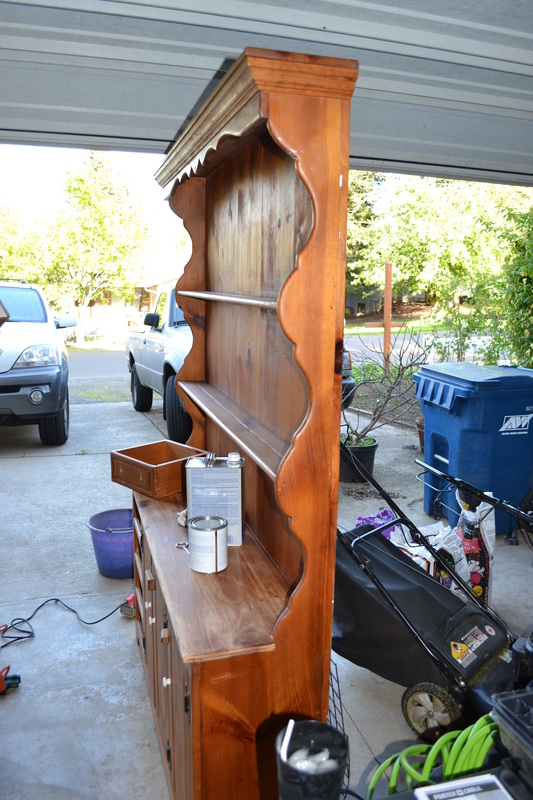
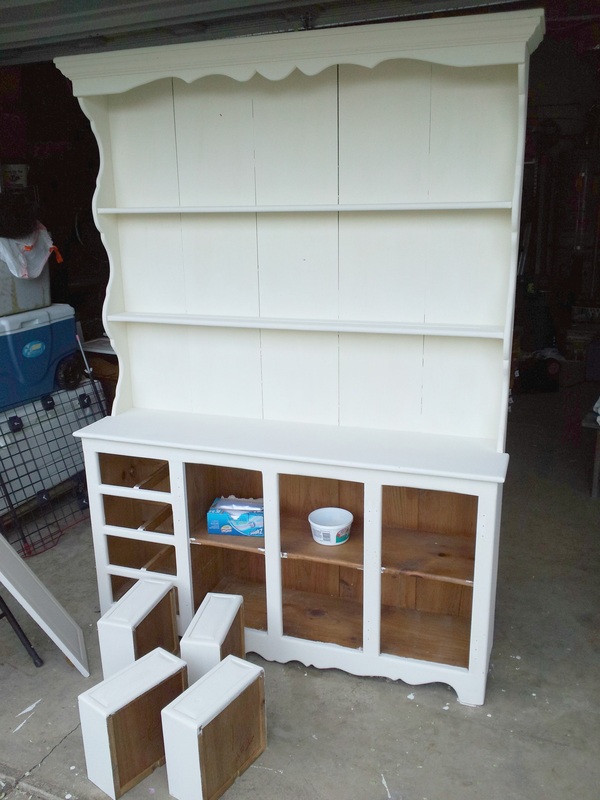
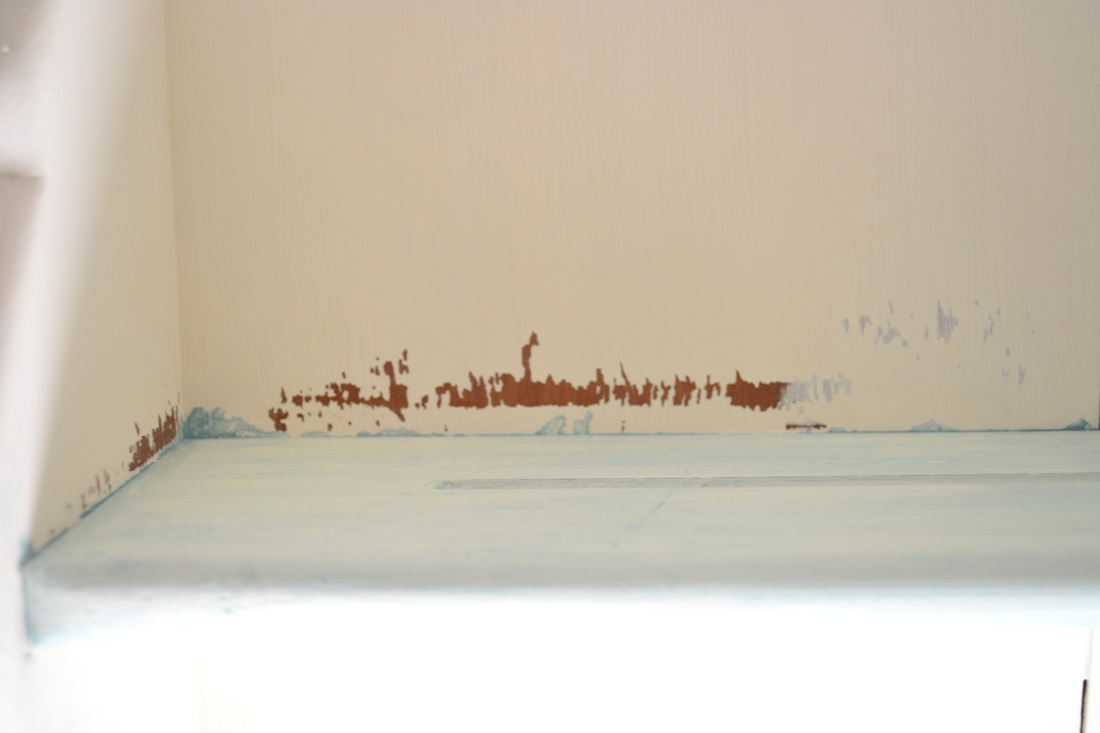
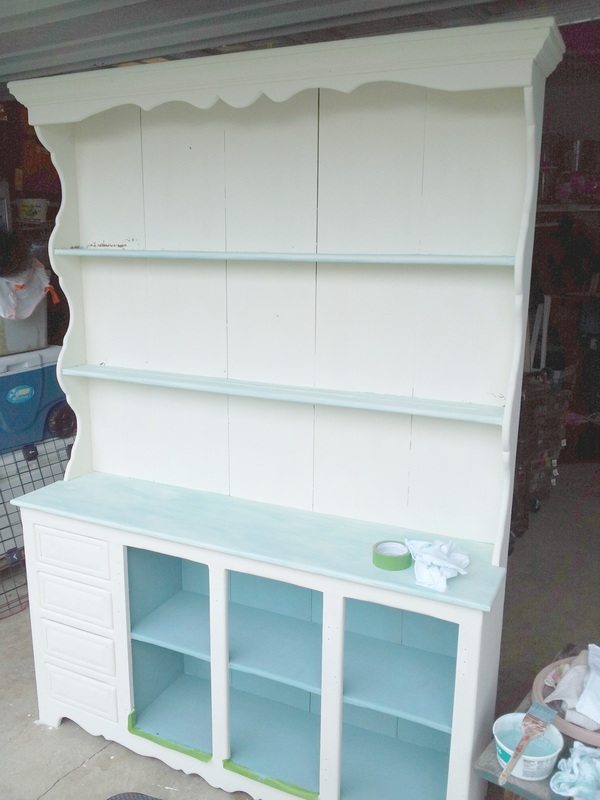
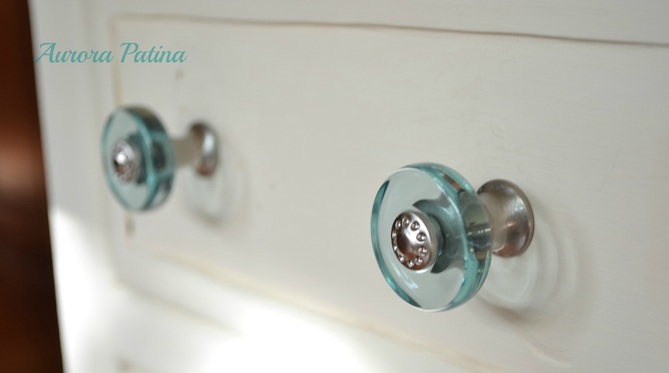
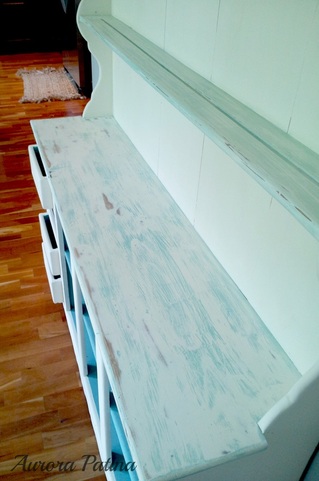
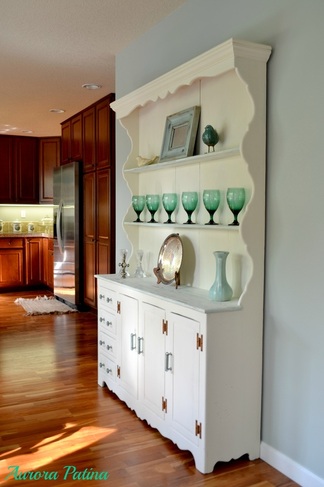
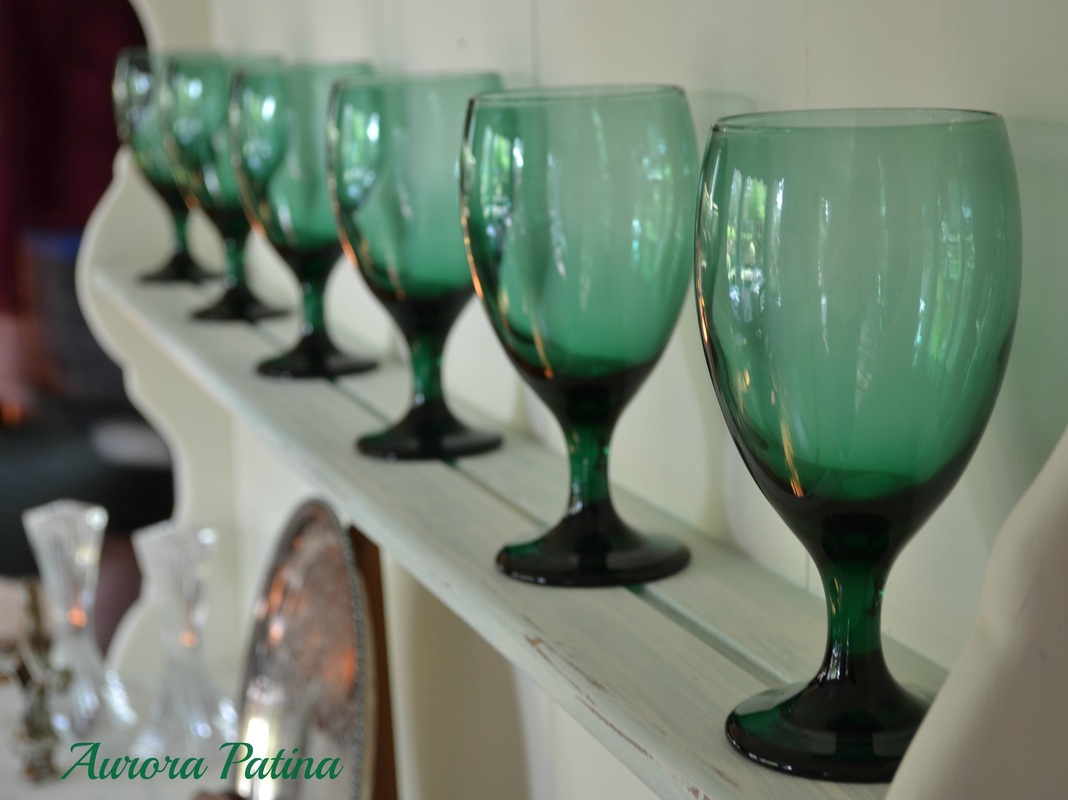
Linking Up at These Great Parties!! Many things about this hutch were what I would call Happy Accidents. I had a few troubles along the way, but the final result is gorgeous and looks pretty great sitting here in my breakfast nook. I found this hutch on Craigslist from a nice lady who was moving to Florida and couldn't take it with her. It was a LONG drive to get it, but definitely worth it. When we got it home, we realized it had a pretty strong odor. Not gross, it was like she had kept herbs and spices loose in the drawers. Hubs decided to put cedar chips in it for a couple of weeks. It helped quite a bit! I could have used some Kilz on it and would have if the smell had been terrible, but I didn't think it was necessary. I do love how pretty natural pine is and did contemplate stripping and re-staining it. Originally, I had planned to strip it, stain it gray and then do the aqua wash over the entire thing. Even though I wasn't 100% sure what I wanted until I was done with it, I knew natural wood just wasn't what I wanted in my nook.
|
AuthorHi Friends! My name is Kris. I'm a mom and wife who loves to DIY around the house and fix up old things to make them beautiful again! Archives
August 2015
Categories
All
I've been Featured: |












 RSS Feed


