|
|

Hi Again Friends! Hard to believe a week has gone by again! Here I am, going through my backlog of projects again. This one was 90% completed. I wanted to get this tutorial out there, so I decided I could post on it today. Besides, looking at it, I'm hopeful you don't know what the last 10% even is! Not to worry, I will get to that part!
|

|
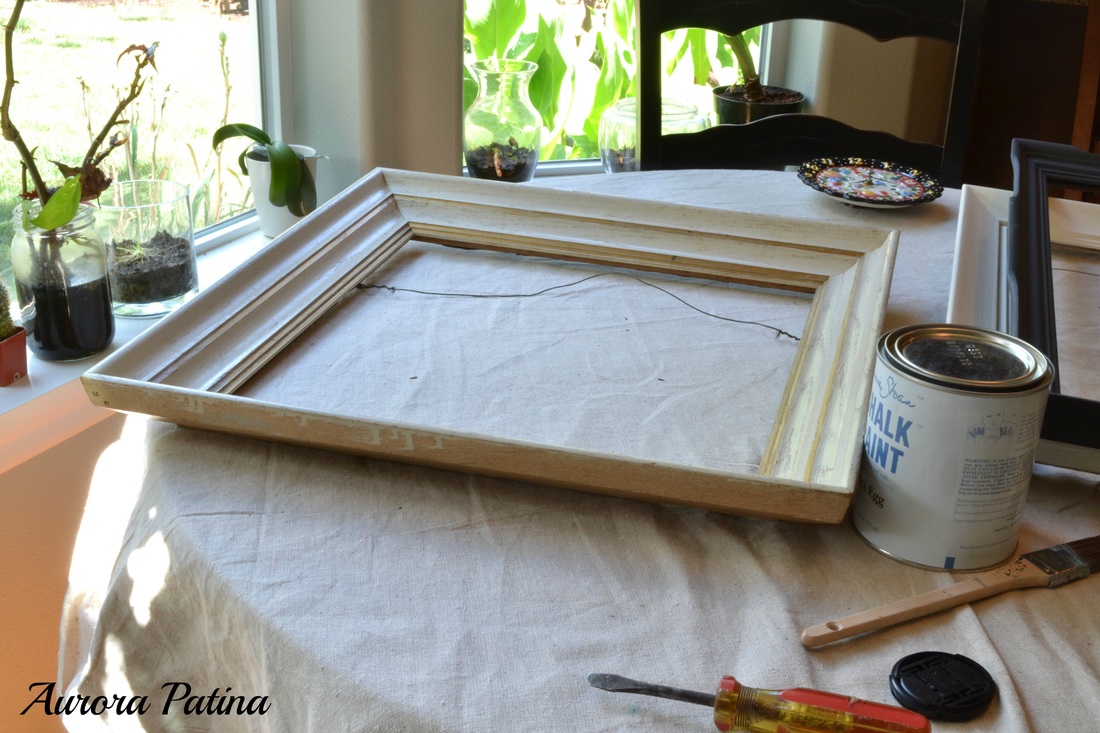
This project started with a pretty gross old frame. These pics are after I cleaned it up. I got this at a barn sale and it was covered in dirt and grime. I went with my old go to, Annie Sloan Chalk Paint. You can use whatever paint you like. I like ASCP because it's a very forgiving and easy to use. Not much prep involved. After I painted it, I used clear wax to have a nice satiny finish.
|
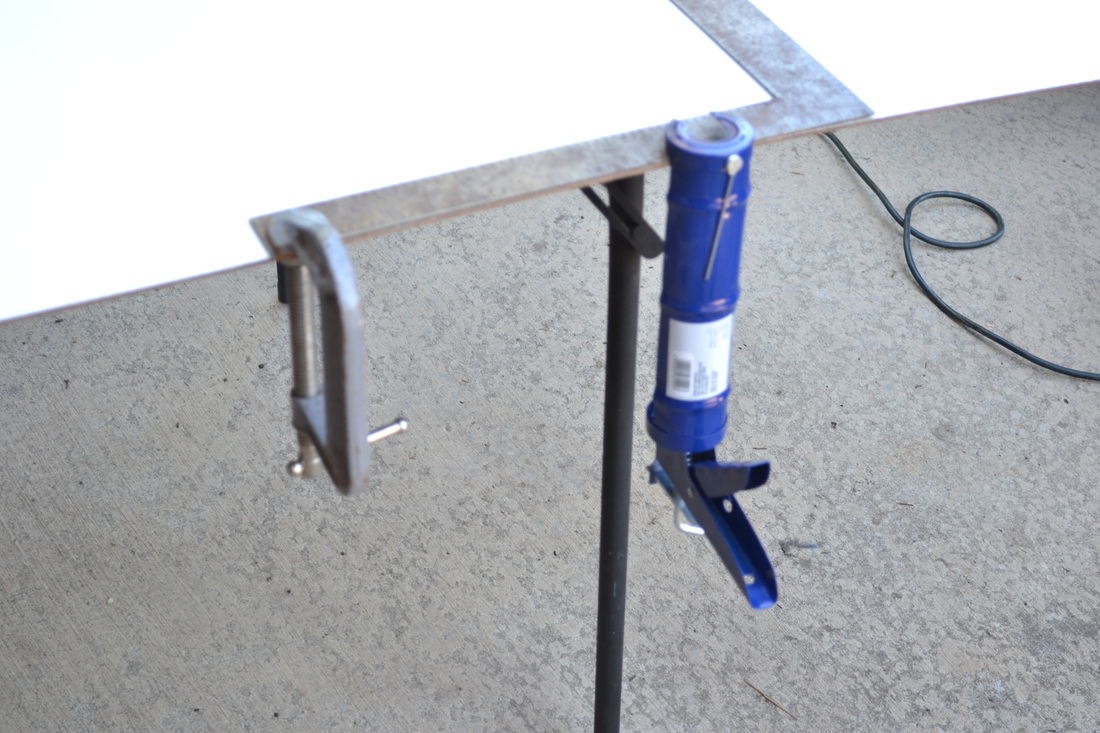
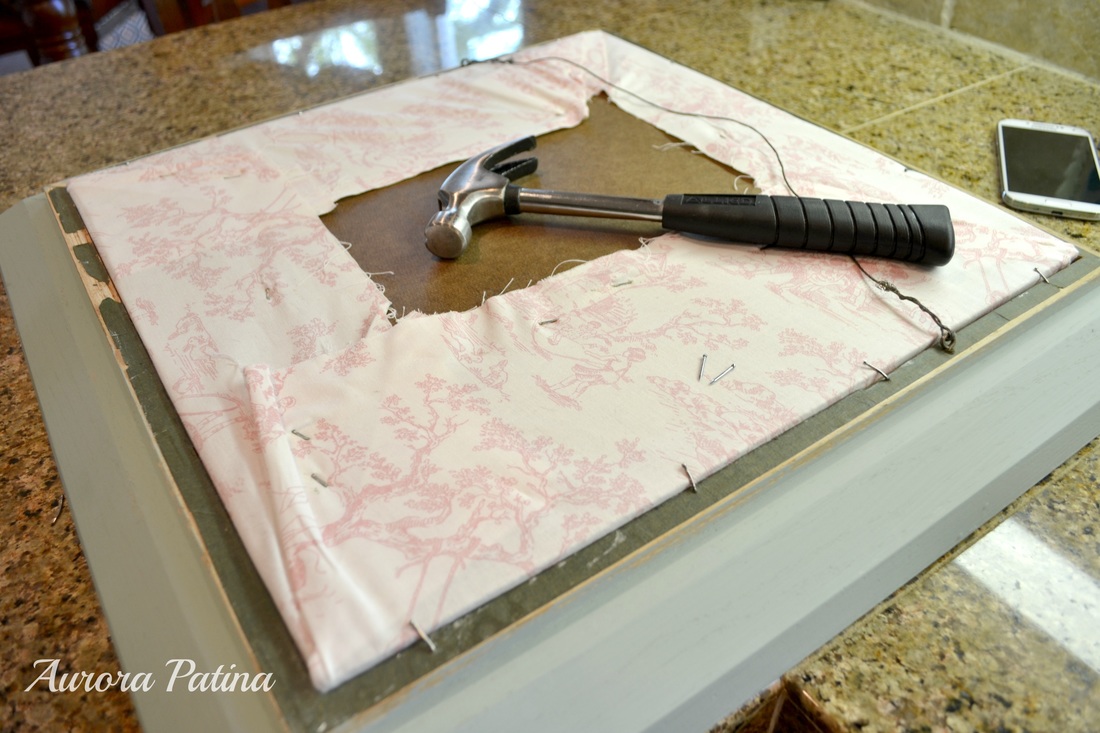
Since my frame had no solid substance to attach my cork to, I need to cut a backer. I just used some particle board I had in the hoarders nest, aka garage. As you can see from this picture, I only had one C-Clamp. Hubs is pretty resourceful, he came over and locked the caulking gun on to help hold the square in place. He's my hero!
I just used my jigsaw to cut out the backer to fit in to the hole in the frame. Be sure to measure that from the backside of the frame. |
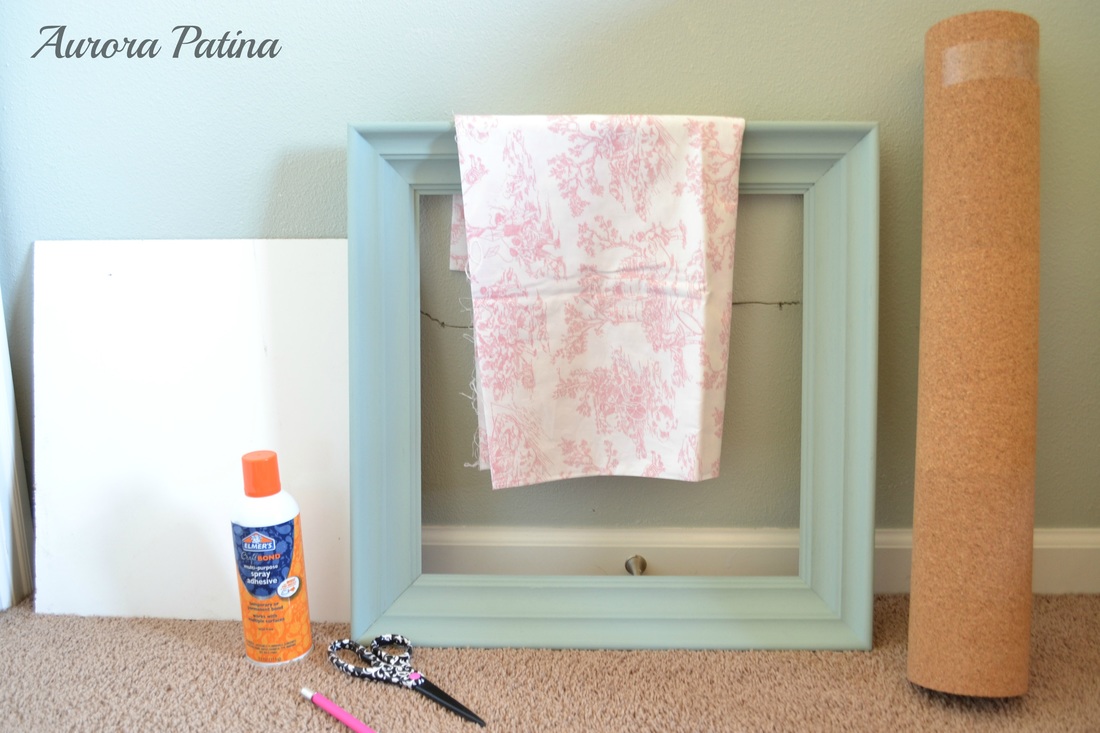
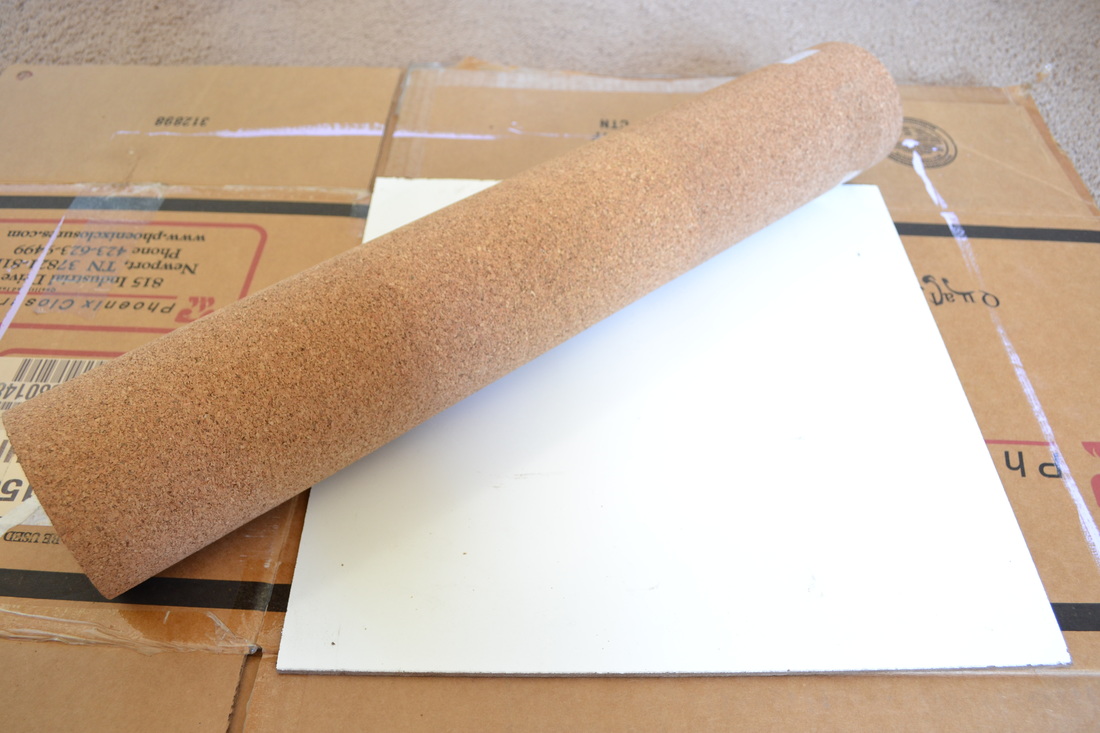
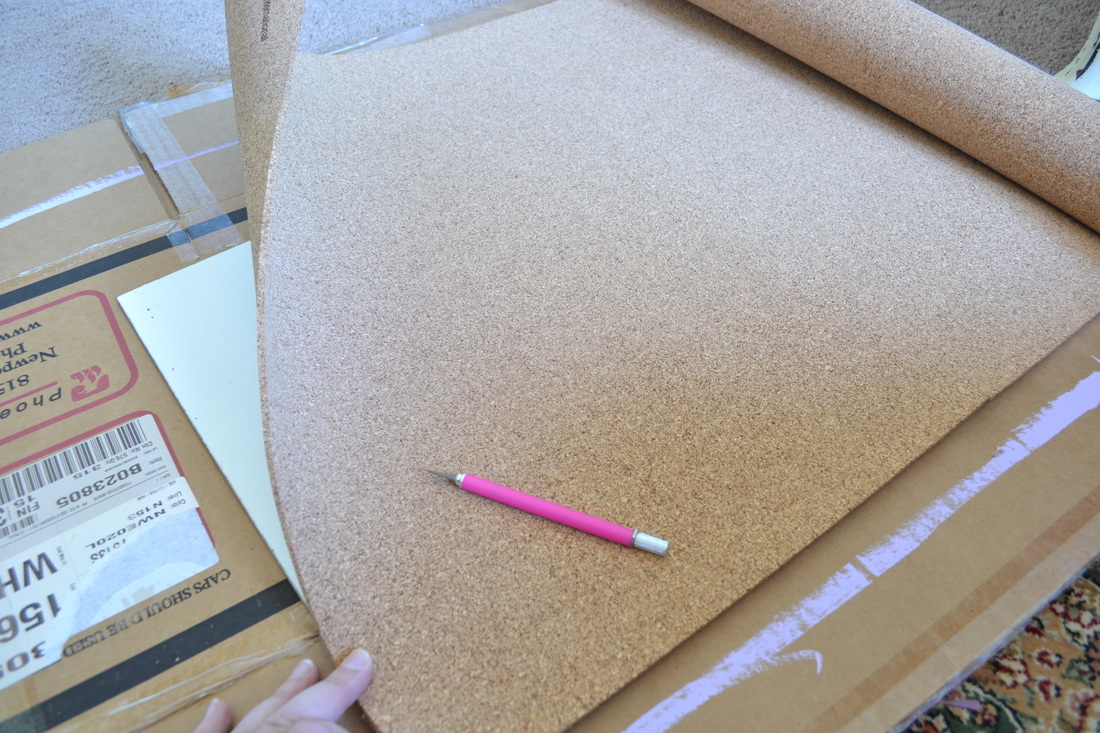
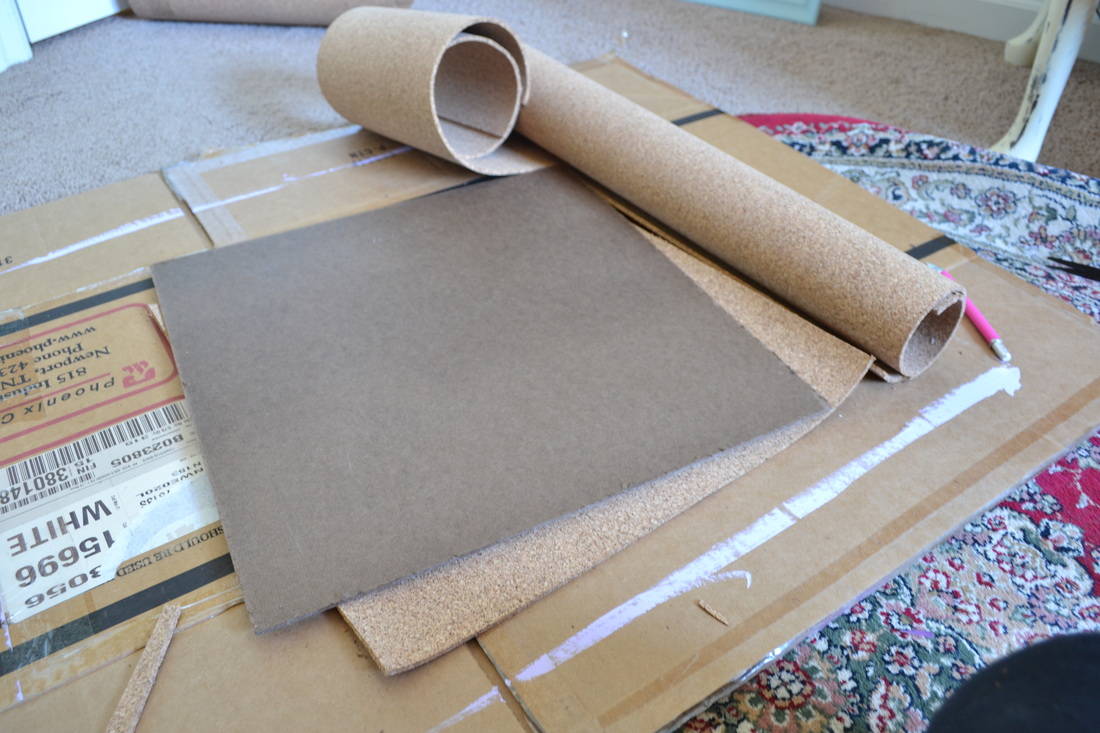
Here are the tools I used to put this puppy together. A frame with backer, a roll of cork (purchased from Amazon), a piece of pretty fabric, Spray Glue (I used Elmer's), scissors and an X-Acto Knife. It also helps to have a big over-sized piece of cardboard to work on, unless you are going to use the spray glue outside in the grass.
So, let me give you a little scoop on the roll of cork. I looked around at some local stores for the cork I wanted and I just could not find what I needed, so I hopped on to Amazon and found what I was looking for. This stuff come in different thicknesses, so think about what you would like. The thicker you can go the better, so your tacks can get a good grab and don't fall out. I went with 1/4" thickness and have had good success with my manual pinning! :-) Just think about how many cork boards you would have to hang up to have your Pinterest boards live and in person.
So, let me give you a little scoop on the roll of cork. I looked around at some local stores for the cork I wanted and I just could not find what I needed, so I hopped on to Amazon and found what I was looking for. This stuff come in different thicknesses, so think about what you would like. The thicker you can go the better, so your tacks can get a good grab and don't fall out. I went with 1/4" thickness and have had good success with my manual pinning! :-) Just think about how many cork boards you would have to hang up to have your Pinterest boards live and in person.
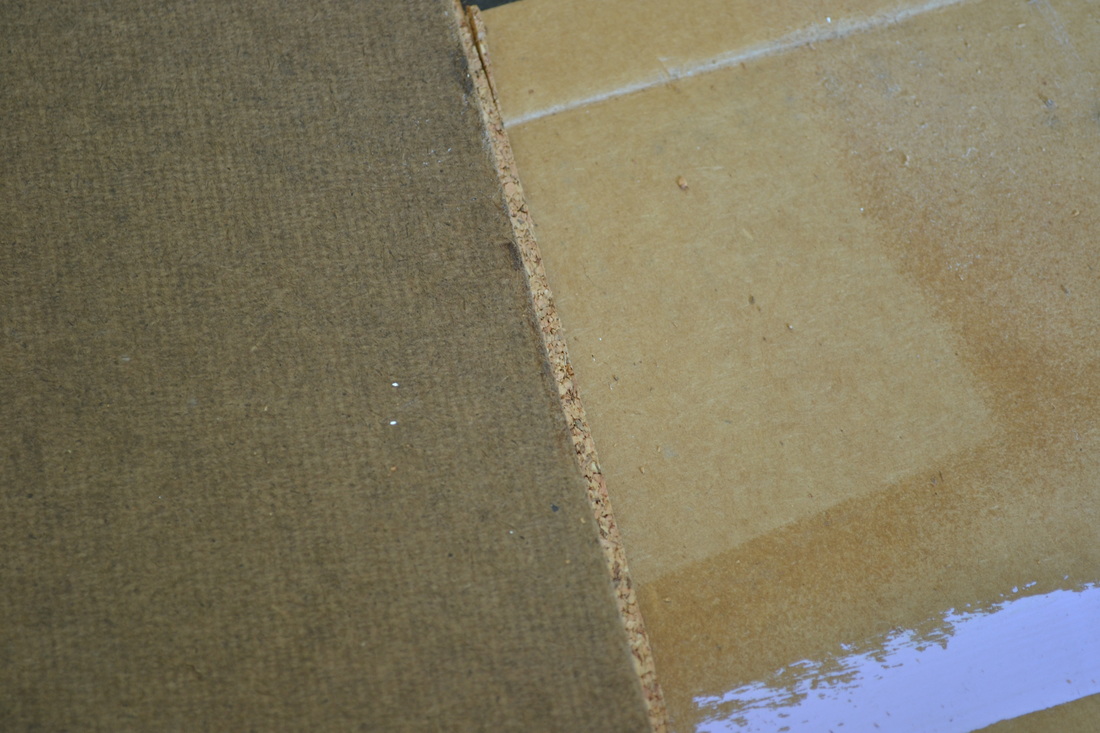
Your next step is to cut the cork to size. Take the backer board, line one edge up with the edge of the cork. Take your X-Acto and cut out around the board.
Here is where that big piece of cardboard comes in handy. Grab your spray glue and read the directions to make sure you are using it correctly. I sprayed one side of the backerboard and one side of the cork. I let them get a little tacky and then lined them up and stuck them together, glue side to glue side.
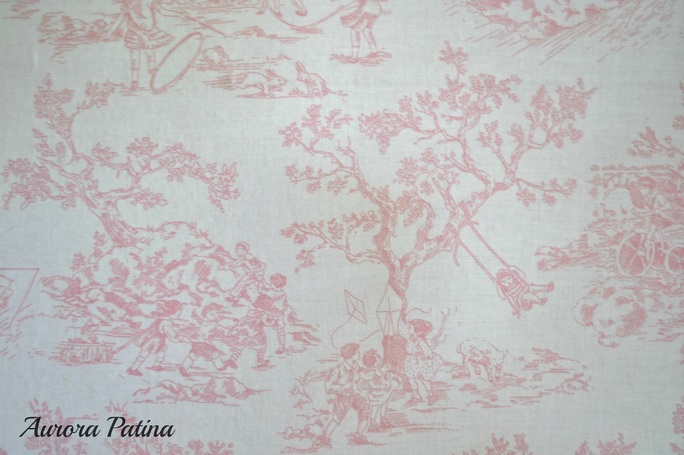
I let that set for a few minutes and used that time to trim out my fabric. My mom had a small remnant of this pretty little Toile. I LOVE a good Toile! It's one of my favorite types of fabric. I thought this one would go really well with the paint color I used on the frame.
Once you have that piece trimmed out, get your spray glue and spray the front side of the corkboard. This next step is very important. Make sure you get your fabric on straight and level. You don't want to have to try and pull it back off the next day. I'm not sure how the cork would hold up to that. Anyway, I just wrapped it up like I was wrapping a present. Making sure to avoid any kind of creasing on the front. The back side does not have to be pretty, just make sure the front is!

|
|
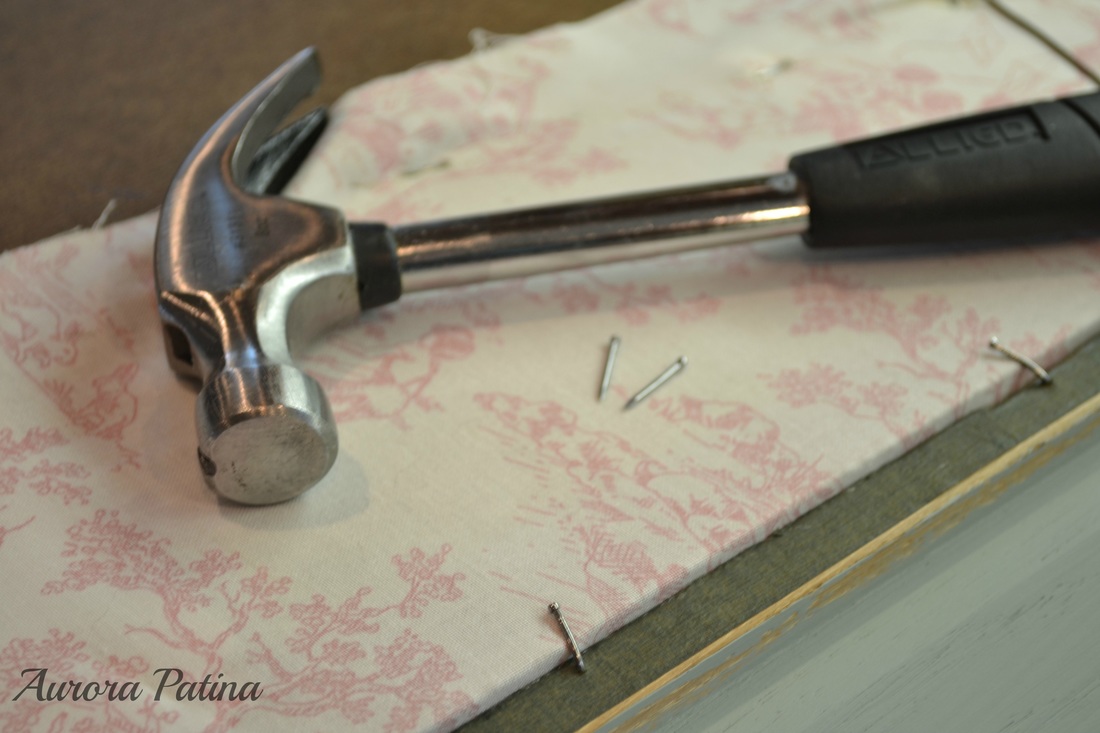
Depending on how your frame is put together, this next step may or may not be required. Also, I just totally made this up, if you think of a better way to do this, please do! I just took some brad nails and tapped them in to the frame and then the last couple of whacks bent the nail over to hold it all to the frame. I used about 15 or so nails to make sure it was held in place well and not going anywhere.
Ok, so remember how I said 10% of this project isn't done yet? Well, we are there now. I am planning on finishing the back of this off with a piece of black fabric. However, I don't have any in the house at the moment. I plan on doing that, so this little cutie will have a nice finished look, front and back.
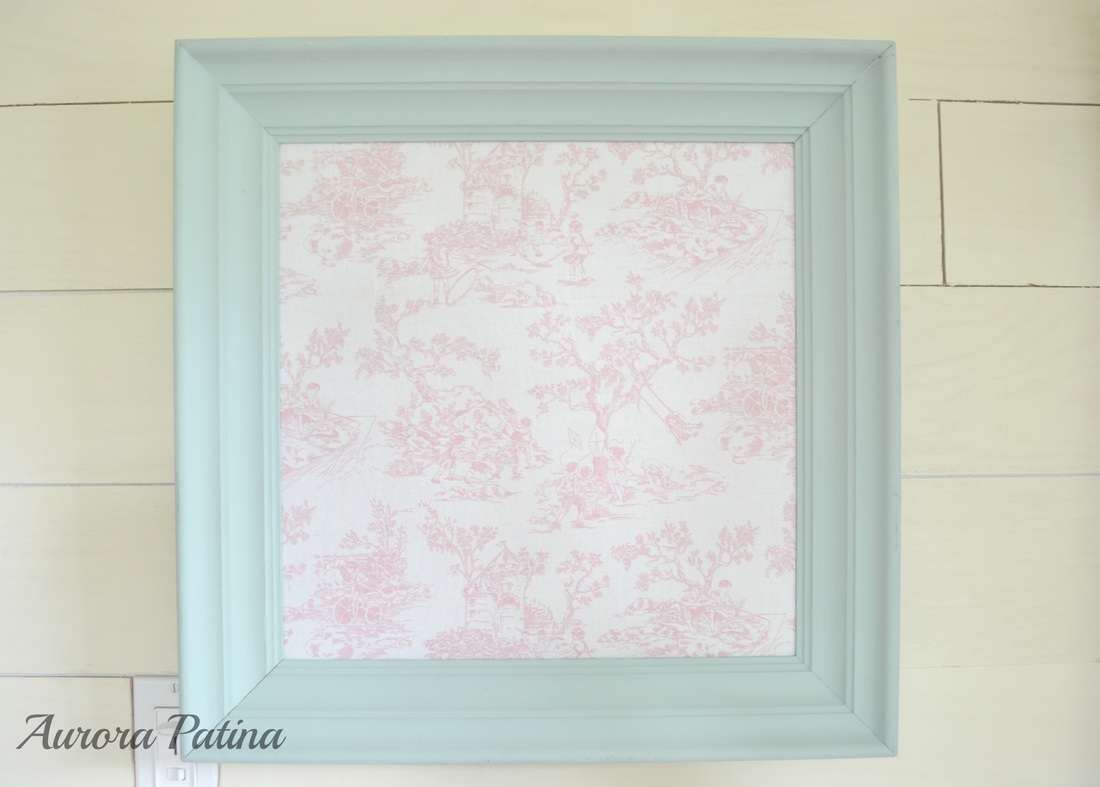
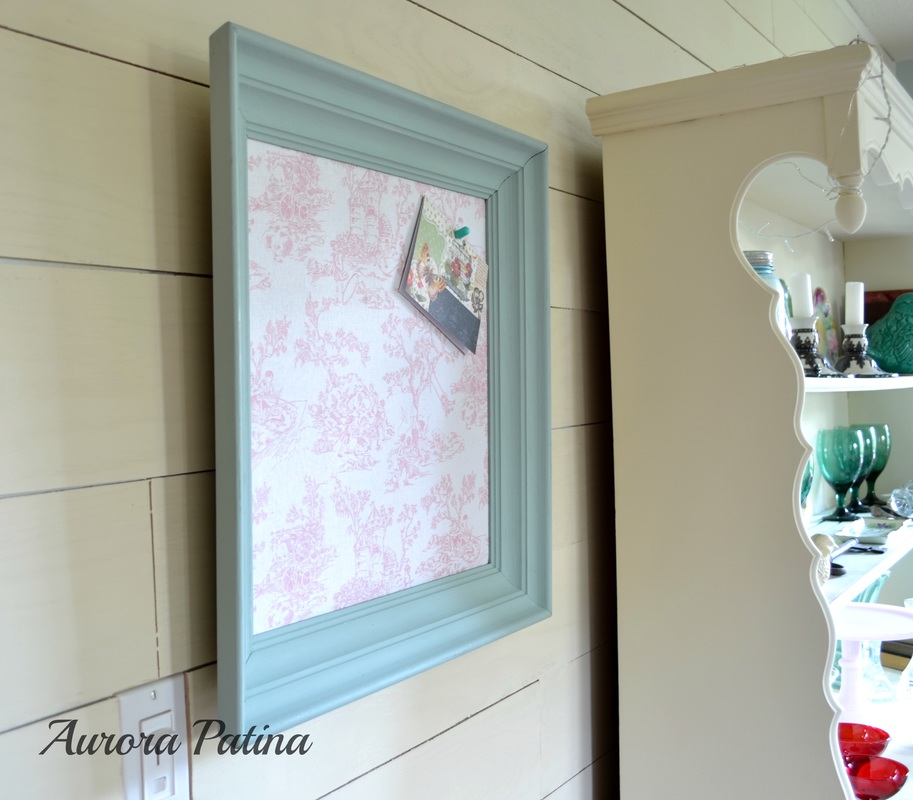
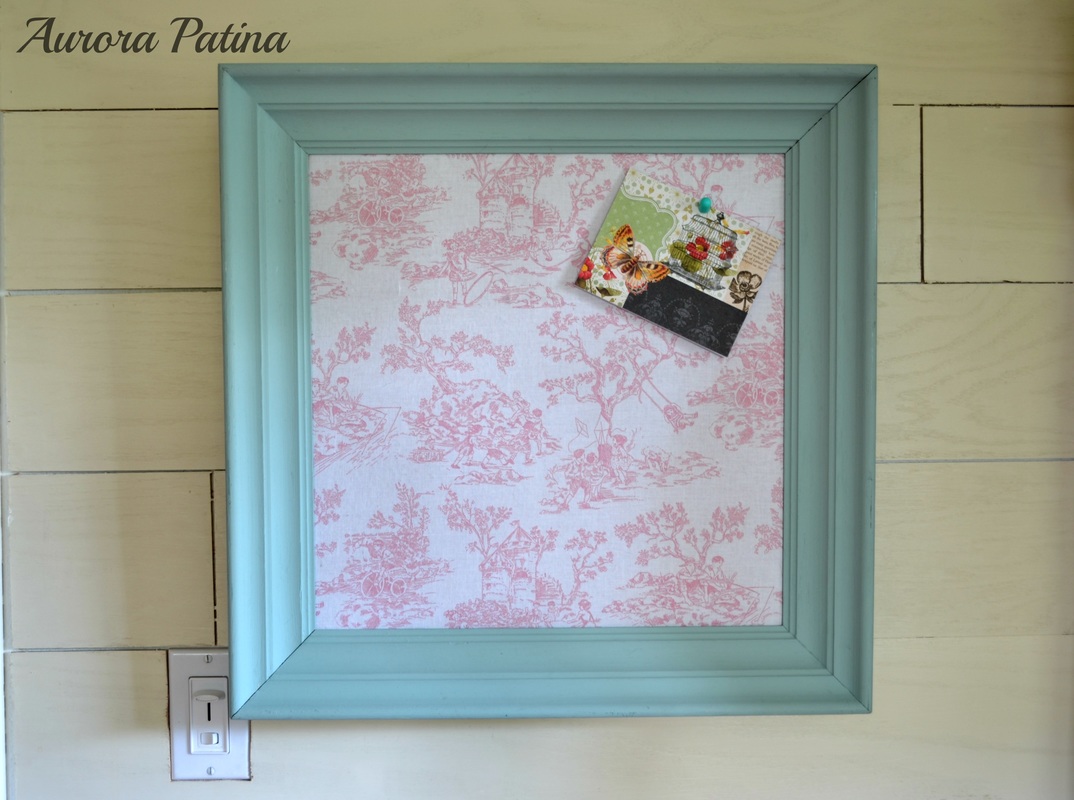
I am really happy with how this turned out. I love the soft colors and it's a handy little frame to have around! Thanks for stopping by! I hope you all have a wonderful week!


 RSS Feed