I'm still digging in to my backlog of projects to post on. This week it's the plank wall we completed last Summer. I don't know if you've seen the show Fixer Upper, but it seems like a ton of the older houses in that show have shiplap. I REALLY love that look! Our house was built in 2004, so alas, no shiplap for me. Not to worry, I can fix that!
First I started doing research about what kind of product I should use. I knew it needed to be very thin. I found just what I was looking for at our local Lowes. It came in 8 foot sheets and at the time, I didn't have much in the way of saws, so a little bit of "woe is me" went a long way. The nice kid at the store took pity on me and ripped the sheets in to 6" strips for me!
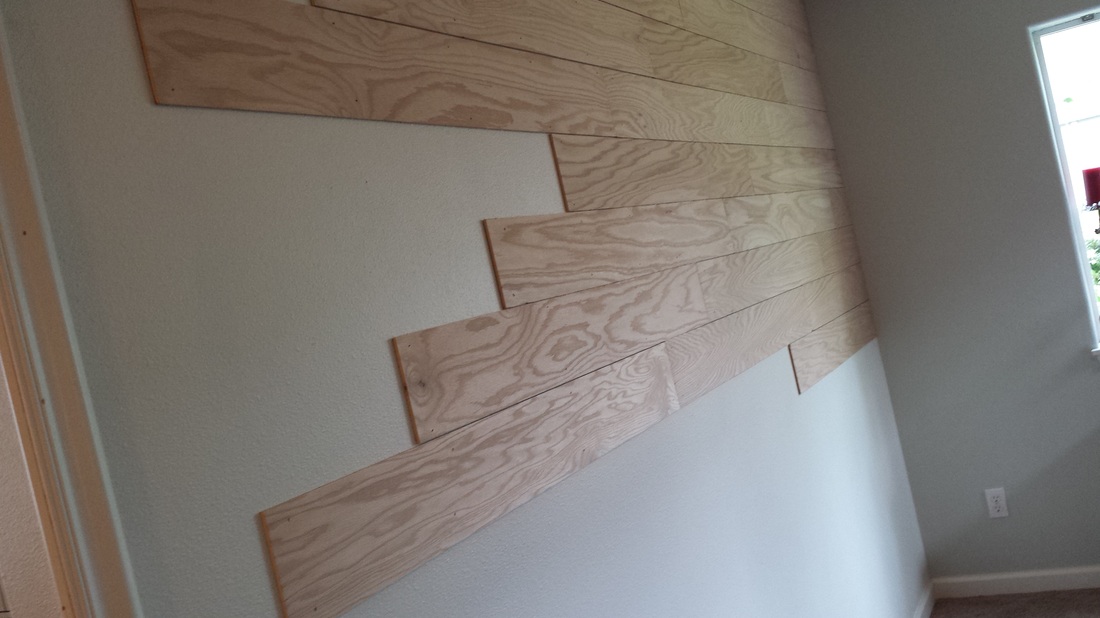
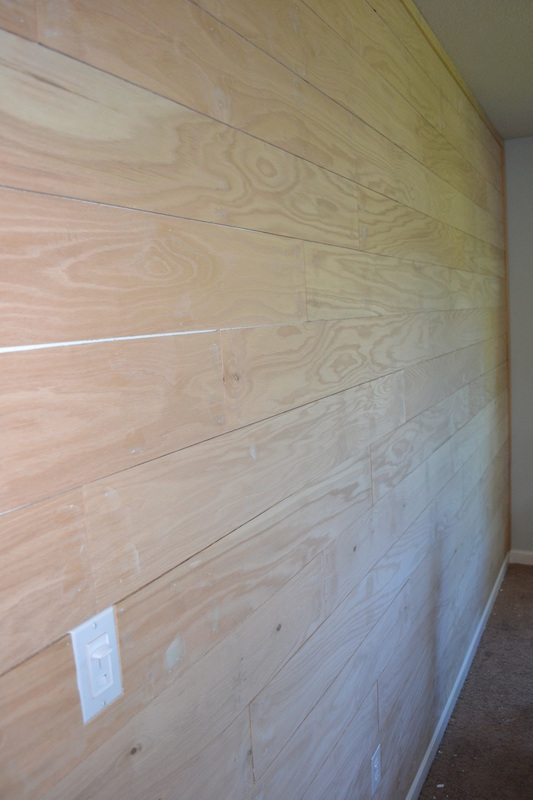
We put the first strip up on the wall and followed a pretty simple pattern. We just moved the second board, one foot to the left, then the third board was set one foot further to the left, kind of like stairs. You can see it in the picture above. In a few hours we had the entire wall done.
It's worth noting that you can use something flat, like a paint stick, to keep your spacing between boards even. I have to admit, though, I used my eyeballs! Also, If you don't already have a nail gun, it is definitely worth your money for a project like this. Either that or borrow one from your friendly neighbor!
It's worth noting that you can use something flat, like a paint stick, to keep your spacing between boards even. I have to admit, though, I used my eyeballs! Also, If you don't already have a nail gun, it is definitely worth your money for a project like this. Either that or borrow one from your friendly neighbor!
|
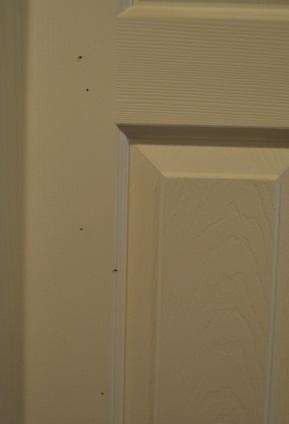
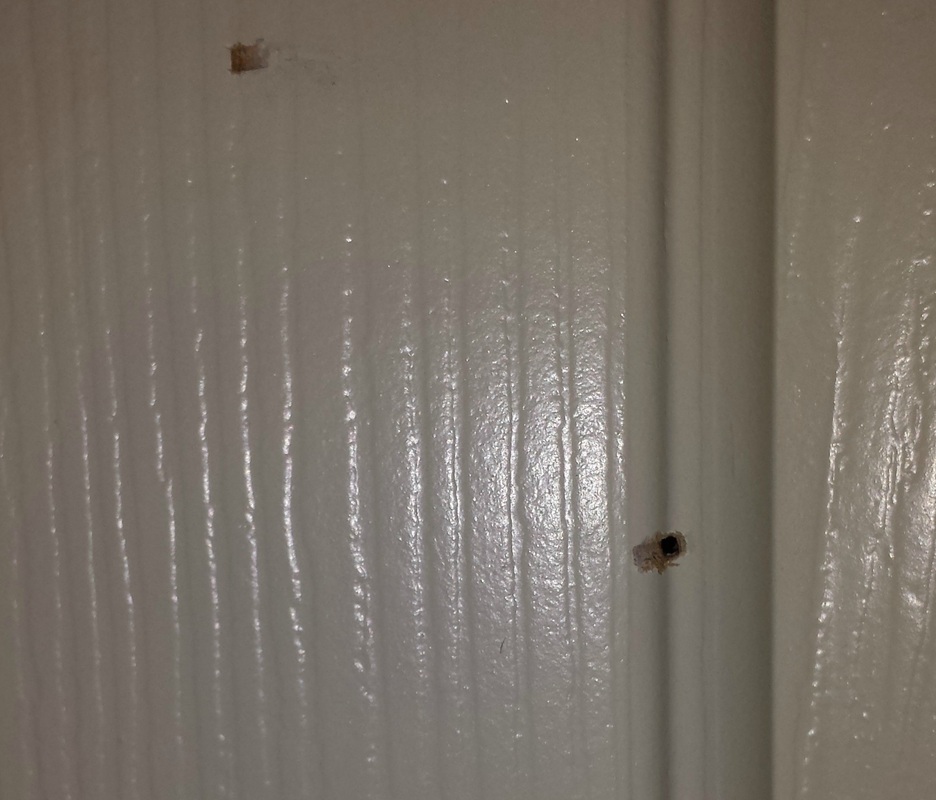
Now, here is a REALLY funny sidenote about this project. Please, if you have a pocket door, you have to read this as a warning. Hubs and I worked and worked for a good part of the day. He needed to use the little boys room (it's right behind that door in the picture to the left). He went to pull the door shut and says, "Uuumm, honey, we've got a problem". Now, I have to say, when we do projects, it is typically a comedy of errors, but I don't think we've ever had an epic fail like this. Are you sitting down? Yep, folks, we nailed the pocket door in to the wall. At the time, I was so mad at myself, but after a few minutes, I started laughing and to this day am still cracking up about it. So listen up, if you are nailing a wall that has a pocket door in it, USE SHORT NAILS! Seems obvious. but clearly it was not the case for us!
|
Ok, if you are finished laughing now, let's move on!
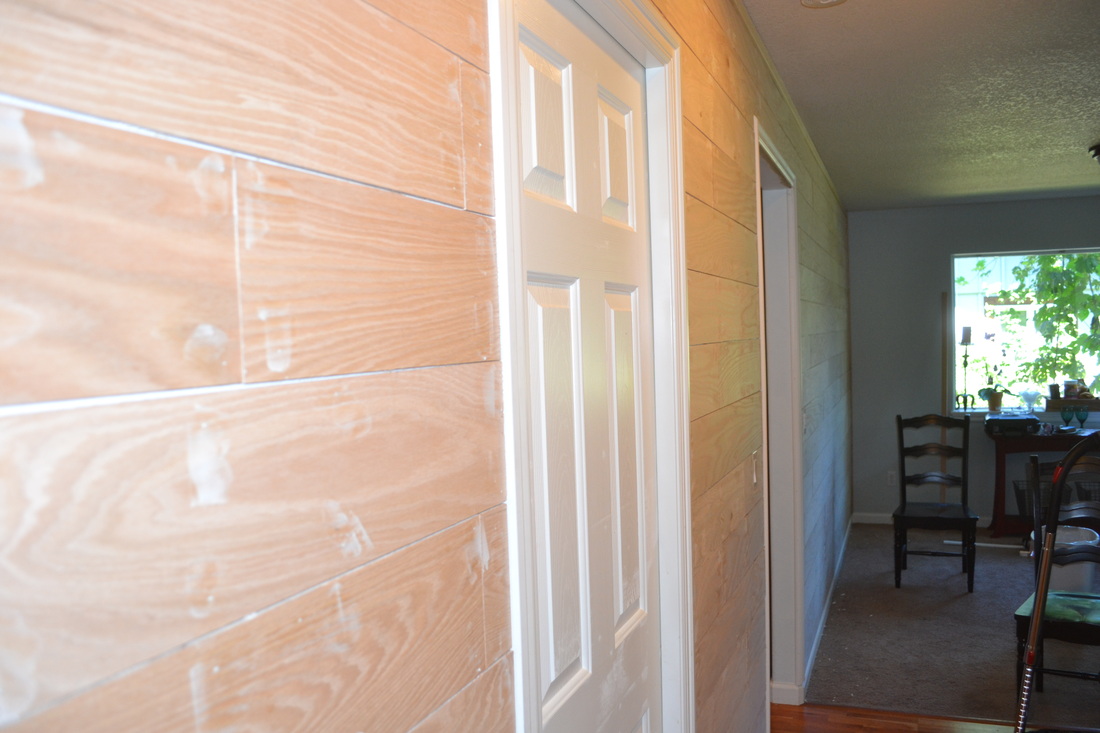
Our home has rounded corners, rather than 90 degree corners, so we needed to figure out a way to cap off the end of the wall. We just used a strip of flat molding. We also put a strip at the top, where the planks touch the ceiling. I am considering wrapping the plank wall around in to the dining room, but haven't decided for sure yet. When I do (because let's be honest, I know I'm going to bring it in to the dining room), I will just butt-up another flat strip for the transition.
Our home has rounded corners, rather than 90 degree corners, so we needed to figure out a way to cap off the end of the wall. We just used a strip of flat molding. We also put a strip at the top, where the planks touch the ceiling. I am considering wrapping the plank wall around in to the dining room, but haven't decided for sure yet. When I do (because let's be honest, I know I'm going to bring it in to the dining room), I will just butt-up another flat strip for the transition.
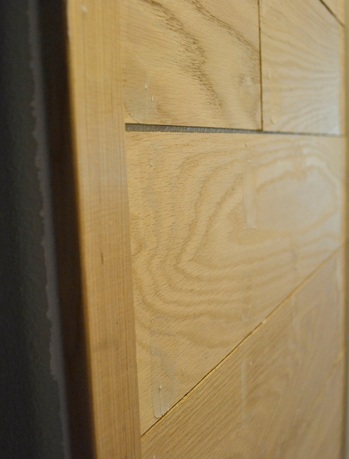
|
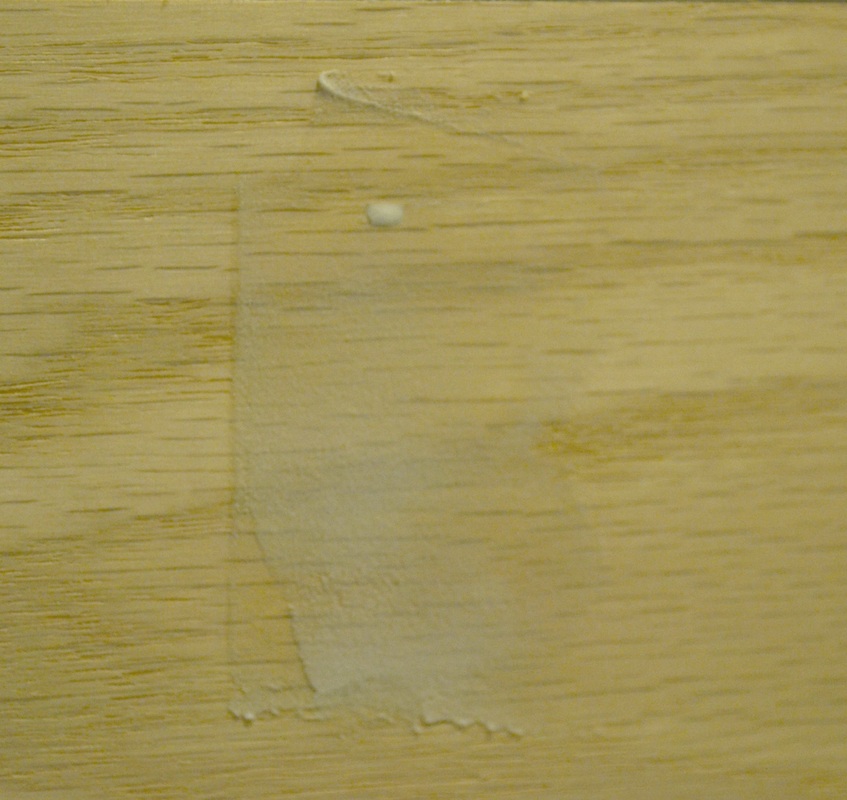
You'll want to go through and patch your nail holes and do a light sanding before you paint.
|
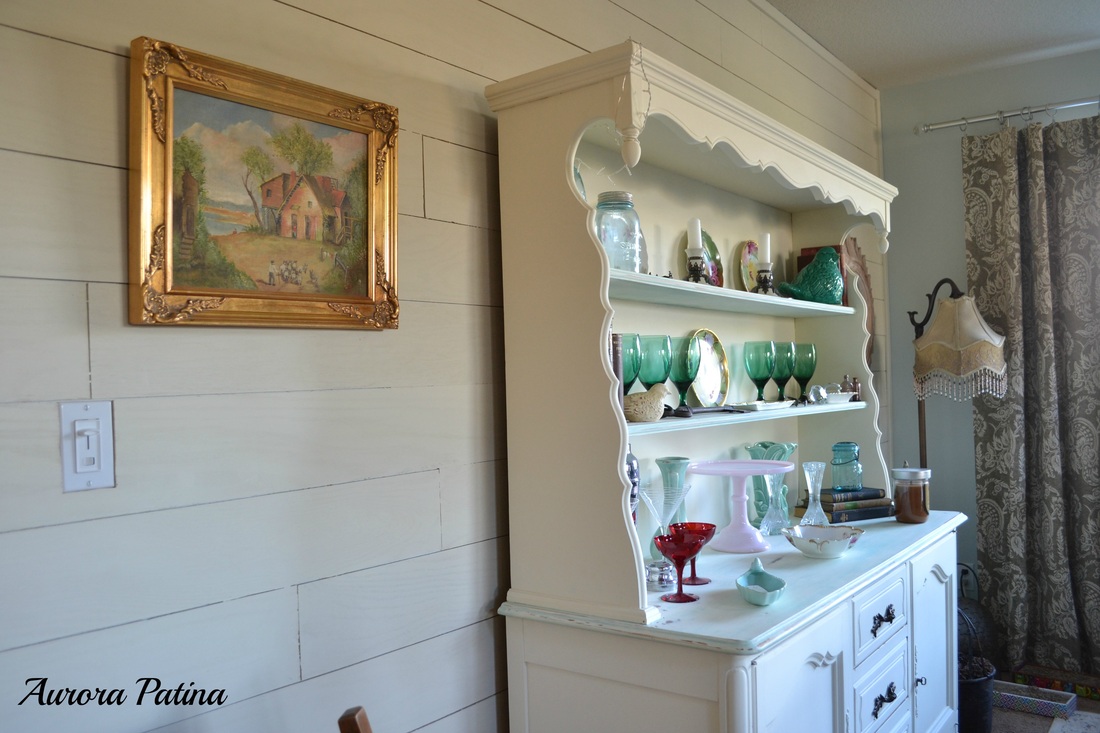
I love it when a project hits this point. Painting Time!! I used Sherwin Williams Navajo White. It's a nice, soft creamy color. I've been contemplating finding some weathered old wood to put on the "front of the back" piece of my hutch, like paneling on the interior wall (does that make sense?) I love the hutch, but think I need a little more contrast between it and the wall. If you have an opinion on this, I'd love to hear it in the comments section. This hutch is one of my favorite makeovers! She's a beauty!
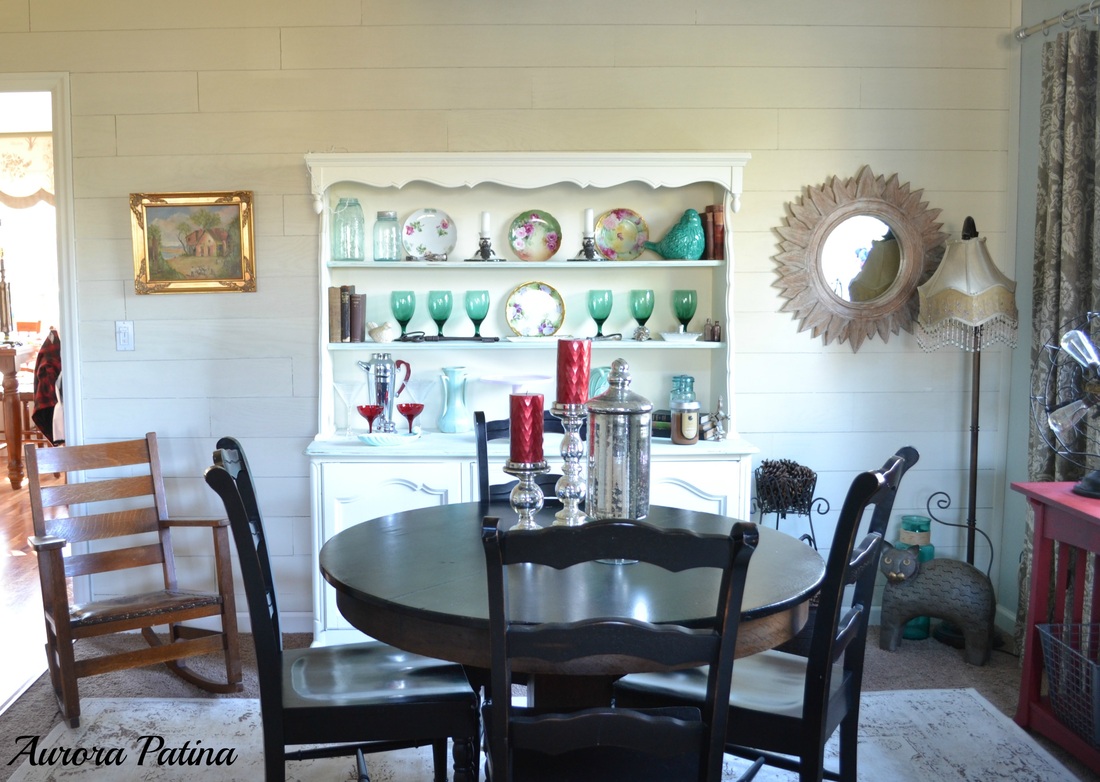
Oops, I guess I should have fixed the chairs around the table before I took this pic.
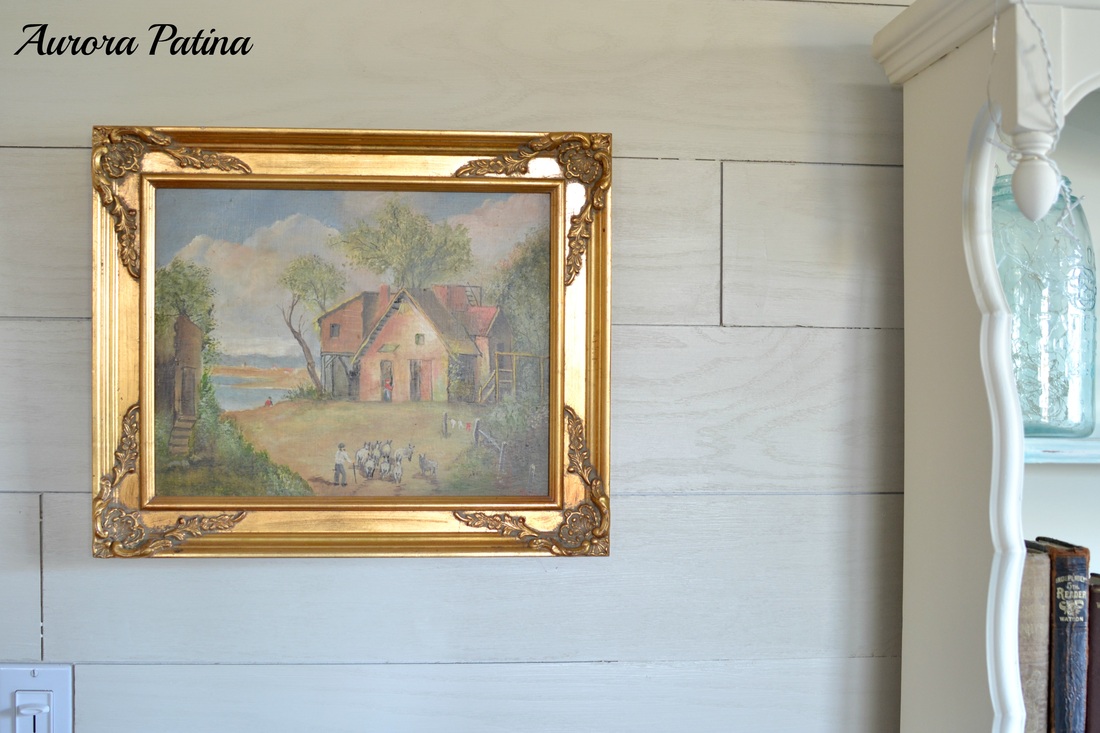
Hubs and I found this beautiful picture at a barn sale for $5. Can you believe that?? To this day, it's my favorite find, I love it!

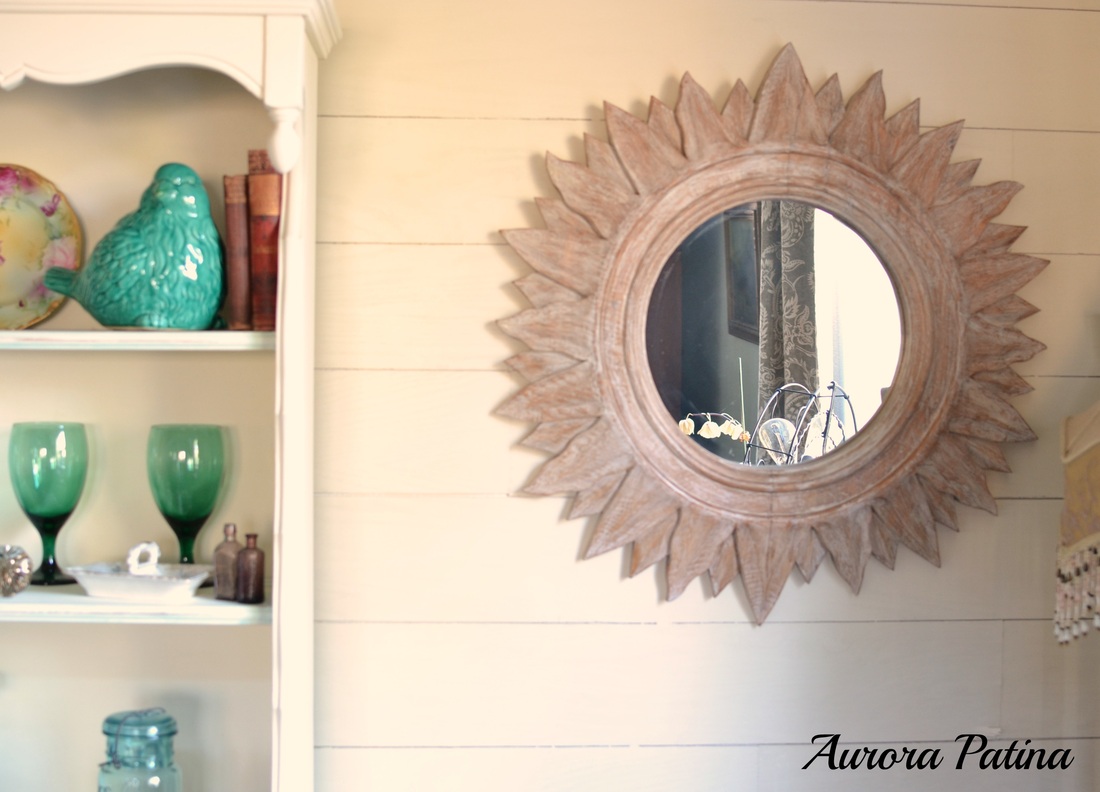
My mama gave me this really cool mirror as a house warming gift when we moved in. I love the treatment on the wood. It makes me think of an old bergere chair with linen fabric.
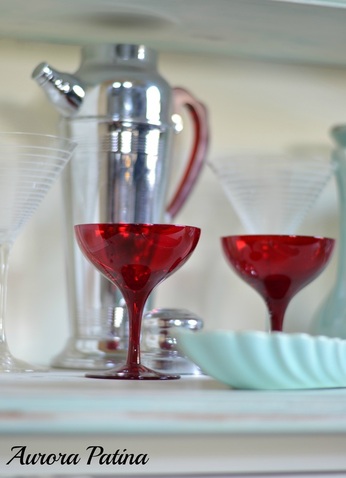
I saw this 3 Piece shaker set at one our local antique shops here in town and fell in love with them. This shop had a drive through coffee house in it, so every time I pulled up, I strained my neck to make sure it was still there, haha! Hubs noticed this and the sweet man that he is, gave them to me for a Mother's Day gift.
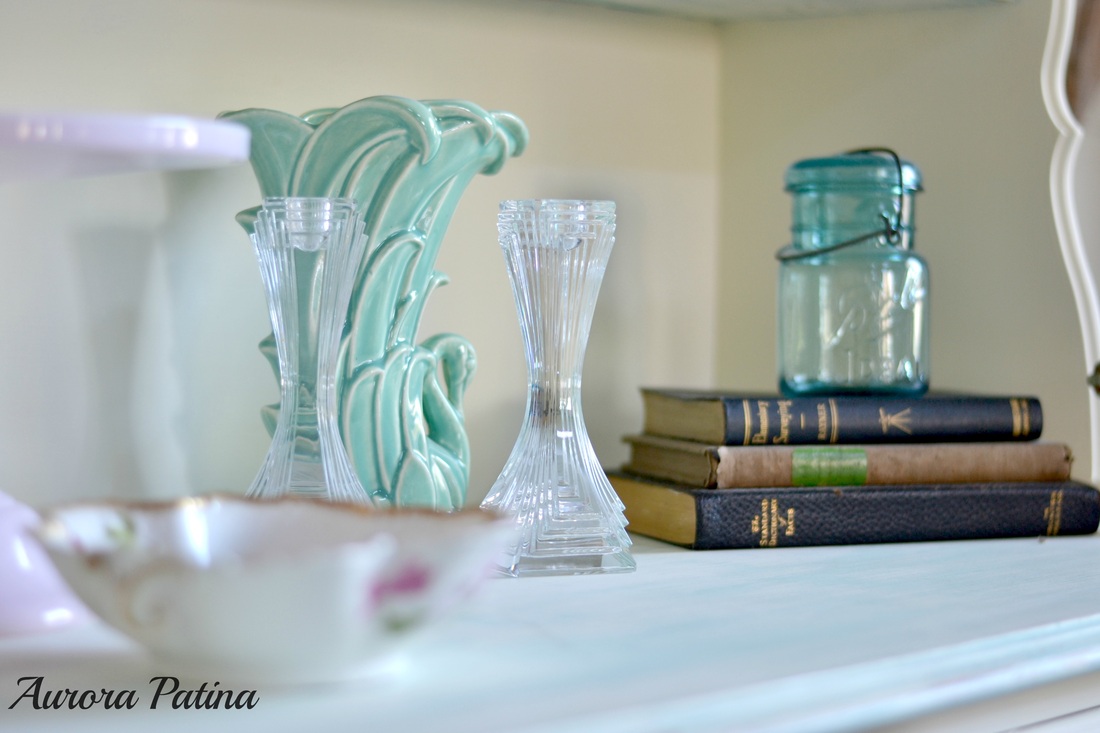
I love decorating with old books. They look really cool stacked up like this!
Thank you for stopping by again this week, friends! You all have a great week and I'll be back with another post next Sunday.


 RSS Feed